
-
How to Block Explicit Content on HomePod

Go to OSX Daily to read How to Block Explicit Content on HomePod Do you want to prevent your HomePod or HomePod Mini from playing back songs that are marked as explicit? This may be necessary if you have kids in your house, so some parents might prefer to turn this parental control feature on,…
-
How to Use Restrictions in iTunes to Limit Access to Features & Content

Go to OSX Daily to read How to Use Restrictions in iTunes to Limit Access to Features & Content Do you use iTunes on a Windows computer that’s shared with someone else? Or perhaps, you want to stop your kid from accessing certain content that’s available on iTunes? This is easily made possible with the…
-
How to Allow Apps During Downtime on Mac

Go to OSX Daily to read How to Allow Apps During Downtime on Mac Do you use Screen Time to restrict you or your kid’s Mac usage? If so, you might already be aware of the fact that you can set limits on apps, schedule downtime on the Mac, and more. In addition to this,…
-
How to Schedule Downtime on Mac

Go to OSX Daily to read How to Schedule Downtime on Mac Do you want to limit the amount of time you or your kid spends on their Mac on a daily basis? Fortunately, this is pretty easy to do with Screen Time, as it allows you to set time away from the screen during…
-
How to Set Communication Limits on Mac

Go to OSX Daily to read How to Set Communication Limits on Mac Do you want to prevent your kid from using iMessage, texting, or making FaceTime calls with specific people on their Mac? If so, you’ll be pleased to know that you can use Screen Time to set up communication limits as as form…
-
How to Restrict App Usage on Mac with Screen Time

Go to OSX Daily to read How to Restrict App Usage on Mac with Screen Time Do you want to limit the amount of time your kid spends playing a game or using a certain app on a Mac? Thanks to Screen Time, setting up app restrictions like this is a fairly simple and straightforward…
-
How to Set a Time Limit for Websites on iPhone & iPad with Screen Time
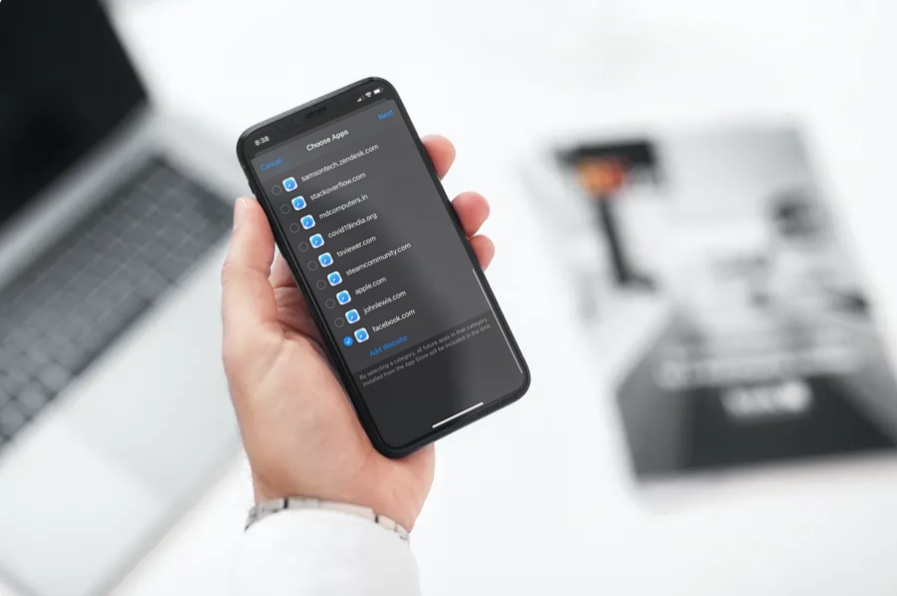
Go to OSX Daily to read How to Set a Time Limit for Websites on iPhone & iPad with Screen Time Want to set a time limit for how long a particular website can be used on an iPhone or iPad? If your child has an iOS or iPadOS device, you may find time limiting…
-
How to Set Time Limits on Websites on Mac

Go to OSX Daily to read How to Set Time Limits on Websites on Mac Want to set a time limit for how long a specific website is usable on a daily basis from a Mac? Maybe you’d like to set time limits for a variety or websites for a kids Mac, for example, limiting…
-
How to See Websites Visited with Screen Time on iPhone & iPad
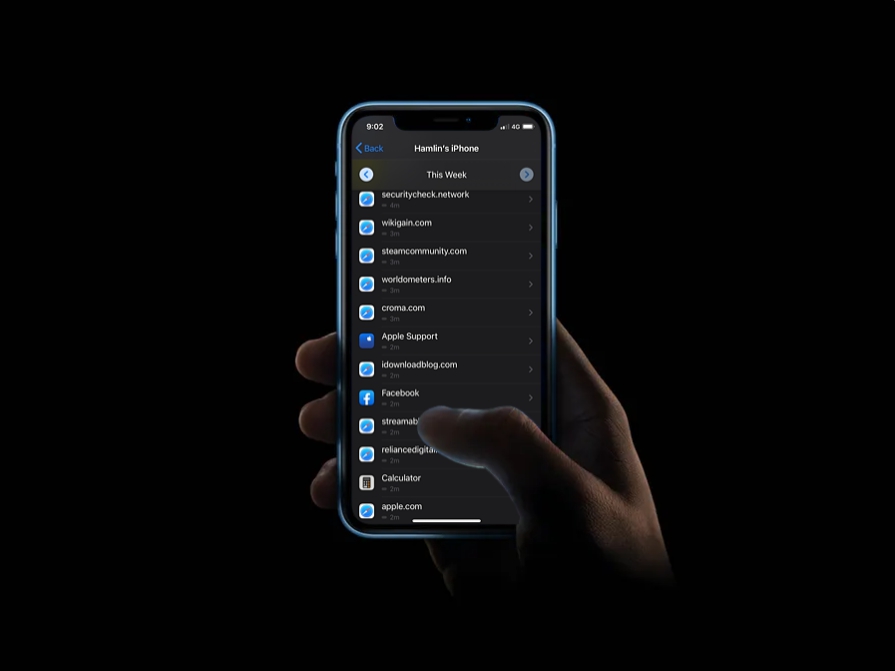
Go to OSX Daily to read How to See Websites Visited with Screen Time on iPhone & iPad With Screen Time, you can keep an eye on what websites are visited and accessed on an iPhone or iPad. This Screen Time capability is completely separate from searching through Safari browser history to find past viewed…
-
How to Set, Change, or Disable Screen Time Passcode on Mac

Go to OSX Daily to read How to Set, Change, or Disable Screen Time Passcode on Mac Do you use Screen Time on your kid’s Mac to keep a check on their device usage by limiting access to certain apps and other content? If so, using a Screen Time passcode is absolutely necessary to make…