-
How to Drop a Pin in Google Maps on iPhone or iPad
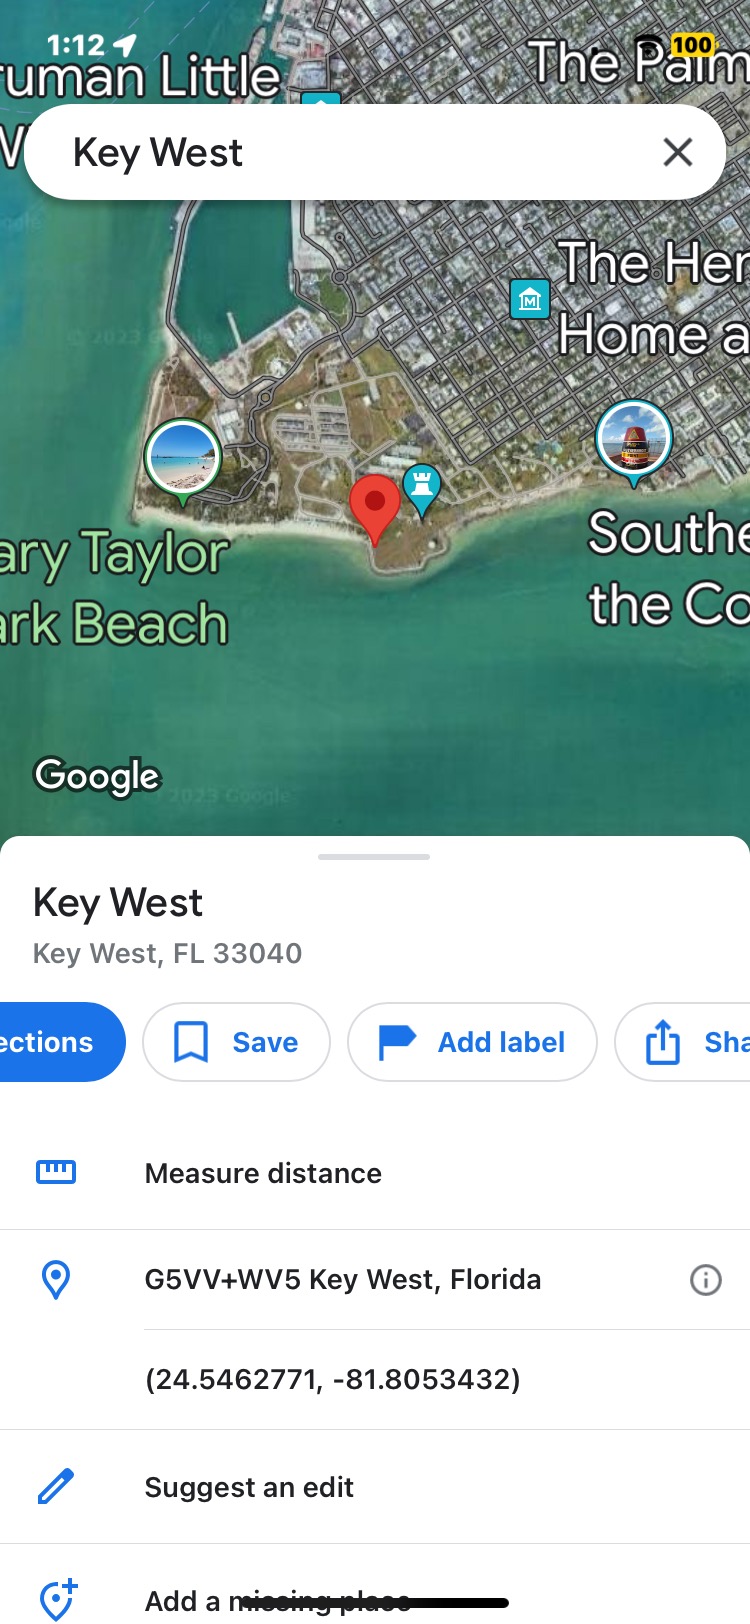
Go to OSX Daily to read How to Drop a Pin in Google Maps on iPhone or iPad Dropping a pin on Google Maps allows you to mark a location on the map for sharing with others, for saving that spot for yourself to reference later, or even for getting directions to that pinned location.…
-
How to Hide / Blur Your Home on Google Maps & Apple Maps

Go to OSX Daily to read How to Hide / Blur Your Home on Google Maps & Apple Maps If you’re creeped out or bothered by the Street View cameras for Google Maps and Apple Maps taking pictures of your house, you can request for Google Maps or Apple Maps to hide, blur, and censor…
-
How to Change Default Navigation Method on iPhone Maps Between Car, Bike, Public Transit, Walking, etc
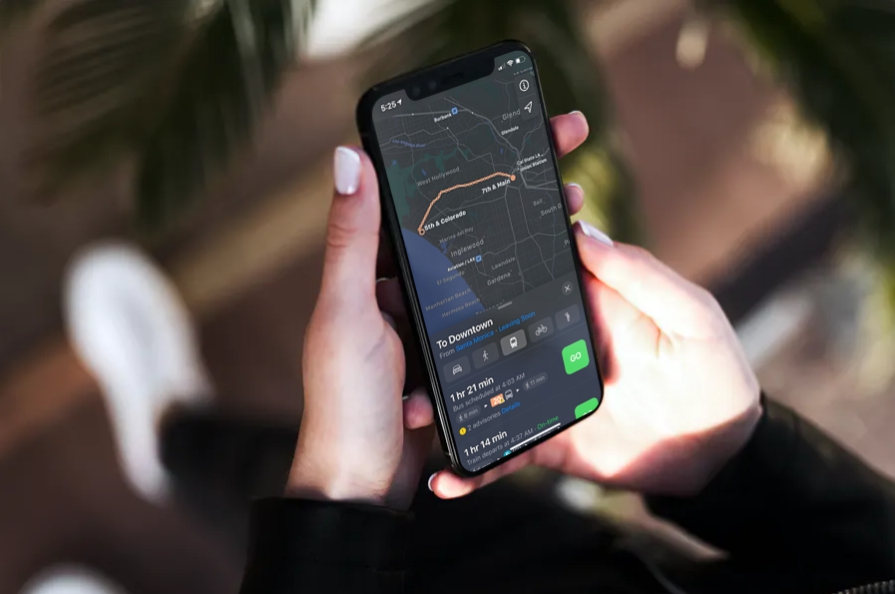
Go to OSX Daily to read How to Change Default Navigation Method on iPhone Maps Between Car, Bike, Public Transit, Walking, etc Do you usually rely on public transport a lot while traveling? Or perhaps, you use cycling directions for your daily commute? Maybe your standard mode of transportation isn’t a car? If you use…
-
How to Share ETA from Apple Maps on iPhone with Siri
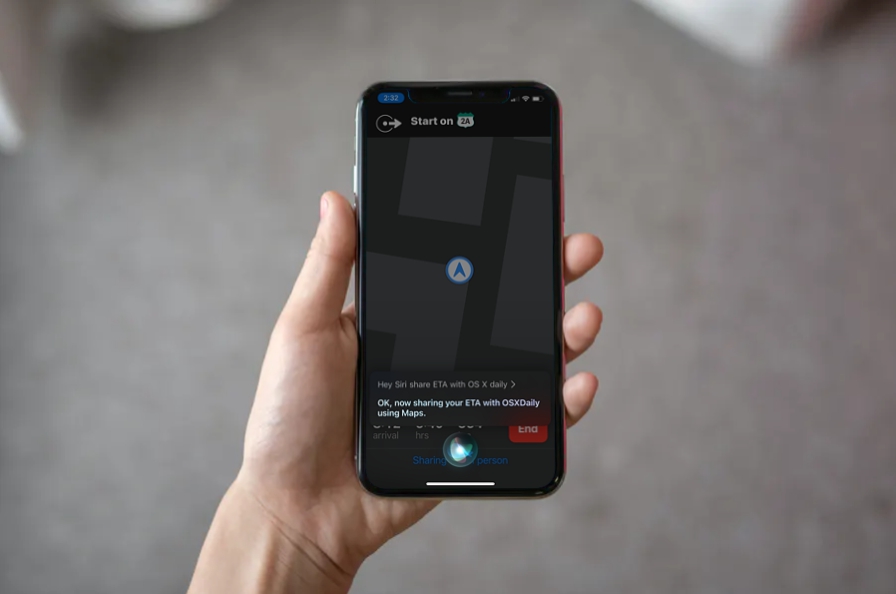
Go to OSX Daily to read How to Share ETA from Apple Maps on iPhone with Siri Are you driving to meet up with your friends, family, or colleagues? If you use Apple Maps for navigation, you’ll be excited to know that you can share your ETA with them right from your iPhone by using…
-
How to Get Cycling Directions in Maps on iPhone
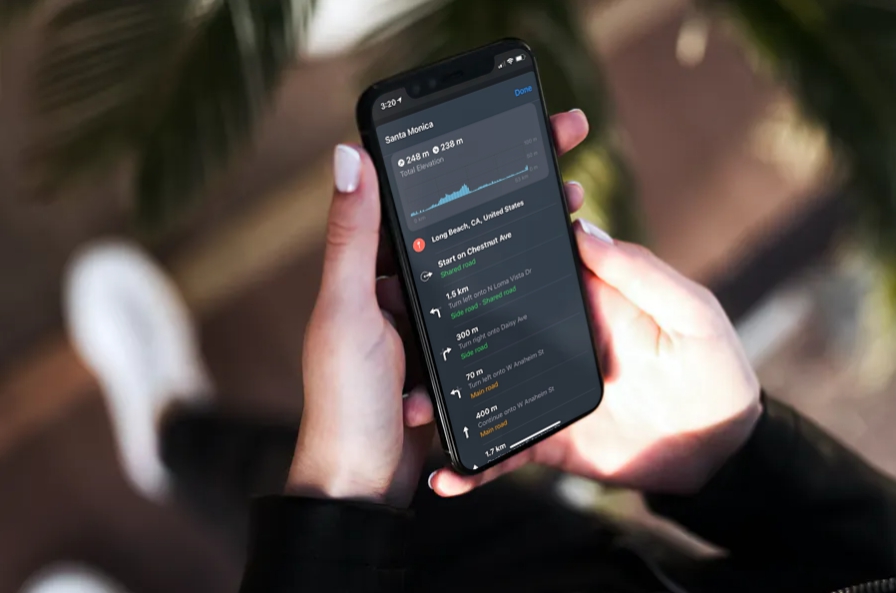
Go to OSX Daily to read How to Get Cycling Directions in Maps on iPhone Do you use a bike or cycle for leisure or commuting? Whatever the case, bicyclists will be pleased to know that you can now access cycling directions on your iPhone using Apple Maps. Cycling directions are often different from vehicle…
-
How to Share Trip Progress with Google Maps on iPhone
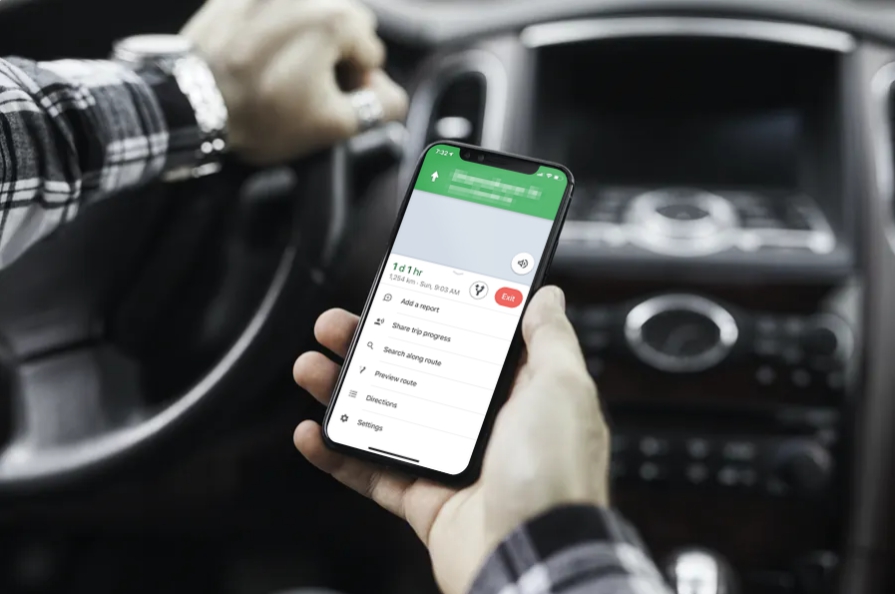
Go to OSX Daily to read How to Share Trip Progress with Google Maps on iPhone Going on a road trip or looking to meet up with your friends? If you use Google Maps as your go-to navigation app, you will be able to share your trip progress with any of your contacts right from…
-
How to Share Arrival Time with Maps on iPhone

Go to OSX Daily to read How to Share Arrival Time with Maps on iPhone Looking forward to meet up with your friends, family, colleagues, or an appointment? If you use Apple Maps as your preferred navigation tool, you will be able to share your routes estimated time of arrival with any of your contacts…
-
How to Access Music Controls in Google Maps on iPhone
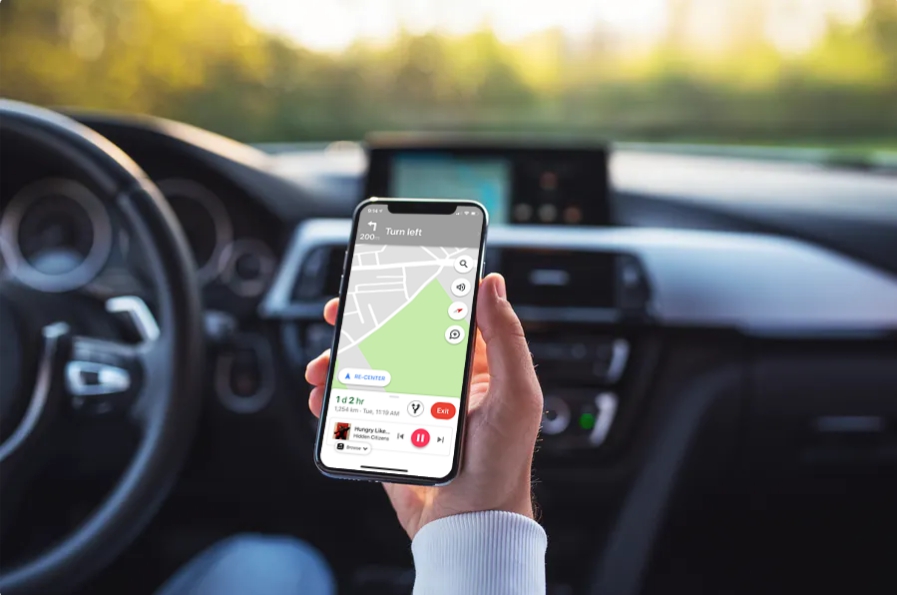
Go to OSX Daily to read How to Access Music Controls in Google Maps on iPhone Do you often listen to music while you’re driving? You’re not alone. Well, if you use Google Maps for navigation, you’re in for a treat, as you can now control your music without having to switch between apps on…
-
How to Turn off & Delete Google Location History on iPhone & iPad
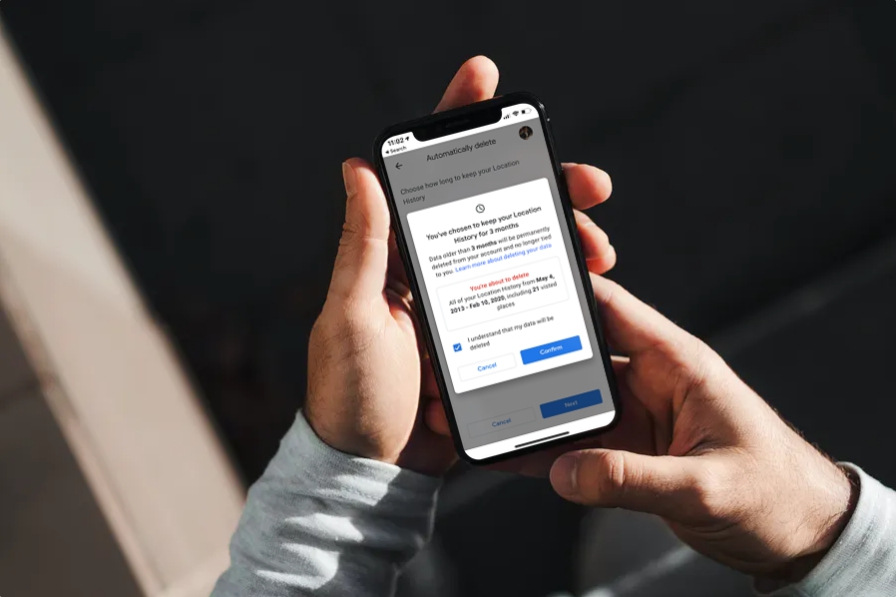
Go to OSX Daily to read How to Turn off & Delete Google Location History on iPhone & iPad Do you use Google Maps on your iPhone or iPad? If so, depending on your settings you may find that Google uses Location History to keep a track of all the locations you’ve visited over time.…