-
How to Find Geographic Location of Apple Aerial Screen Savers (Mac & Apple TV)

Go to OSX Daily to read How to Find Geographic Location of Apple Aerial Screen Savers (Mac & Apple TV) The Aerial screen savers on Mac and Apple TV are absolutely stunning, capturing high resolution drone flybys of amazing scenery around the world, from dramatic cityscapes, surreal underwater scenes, a broad range of landscapes, and…
-
How to Batch Convert Images to WebP on Mac
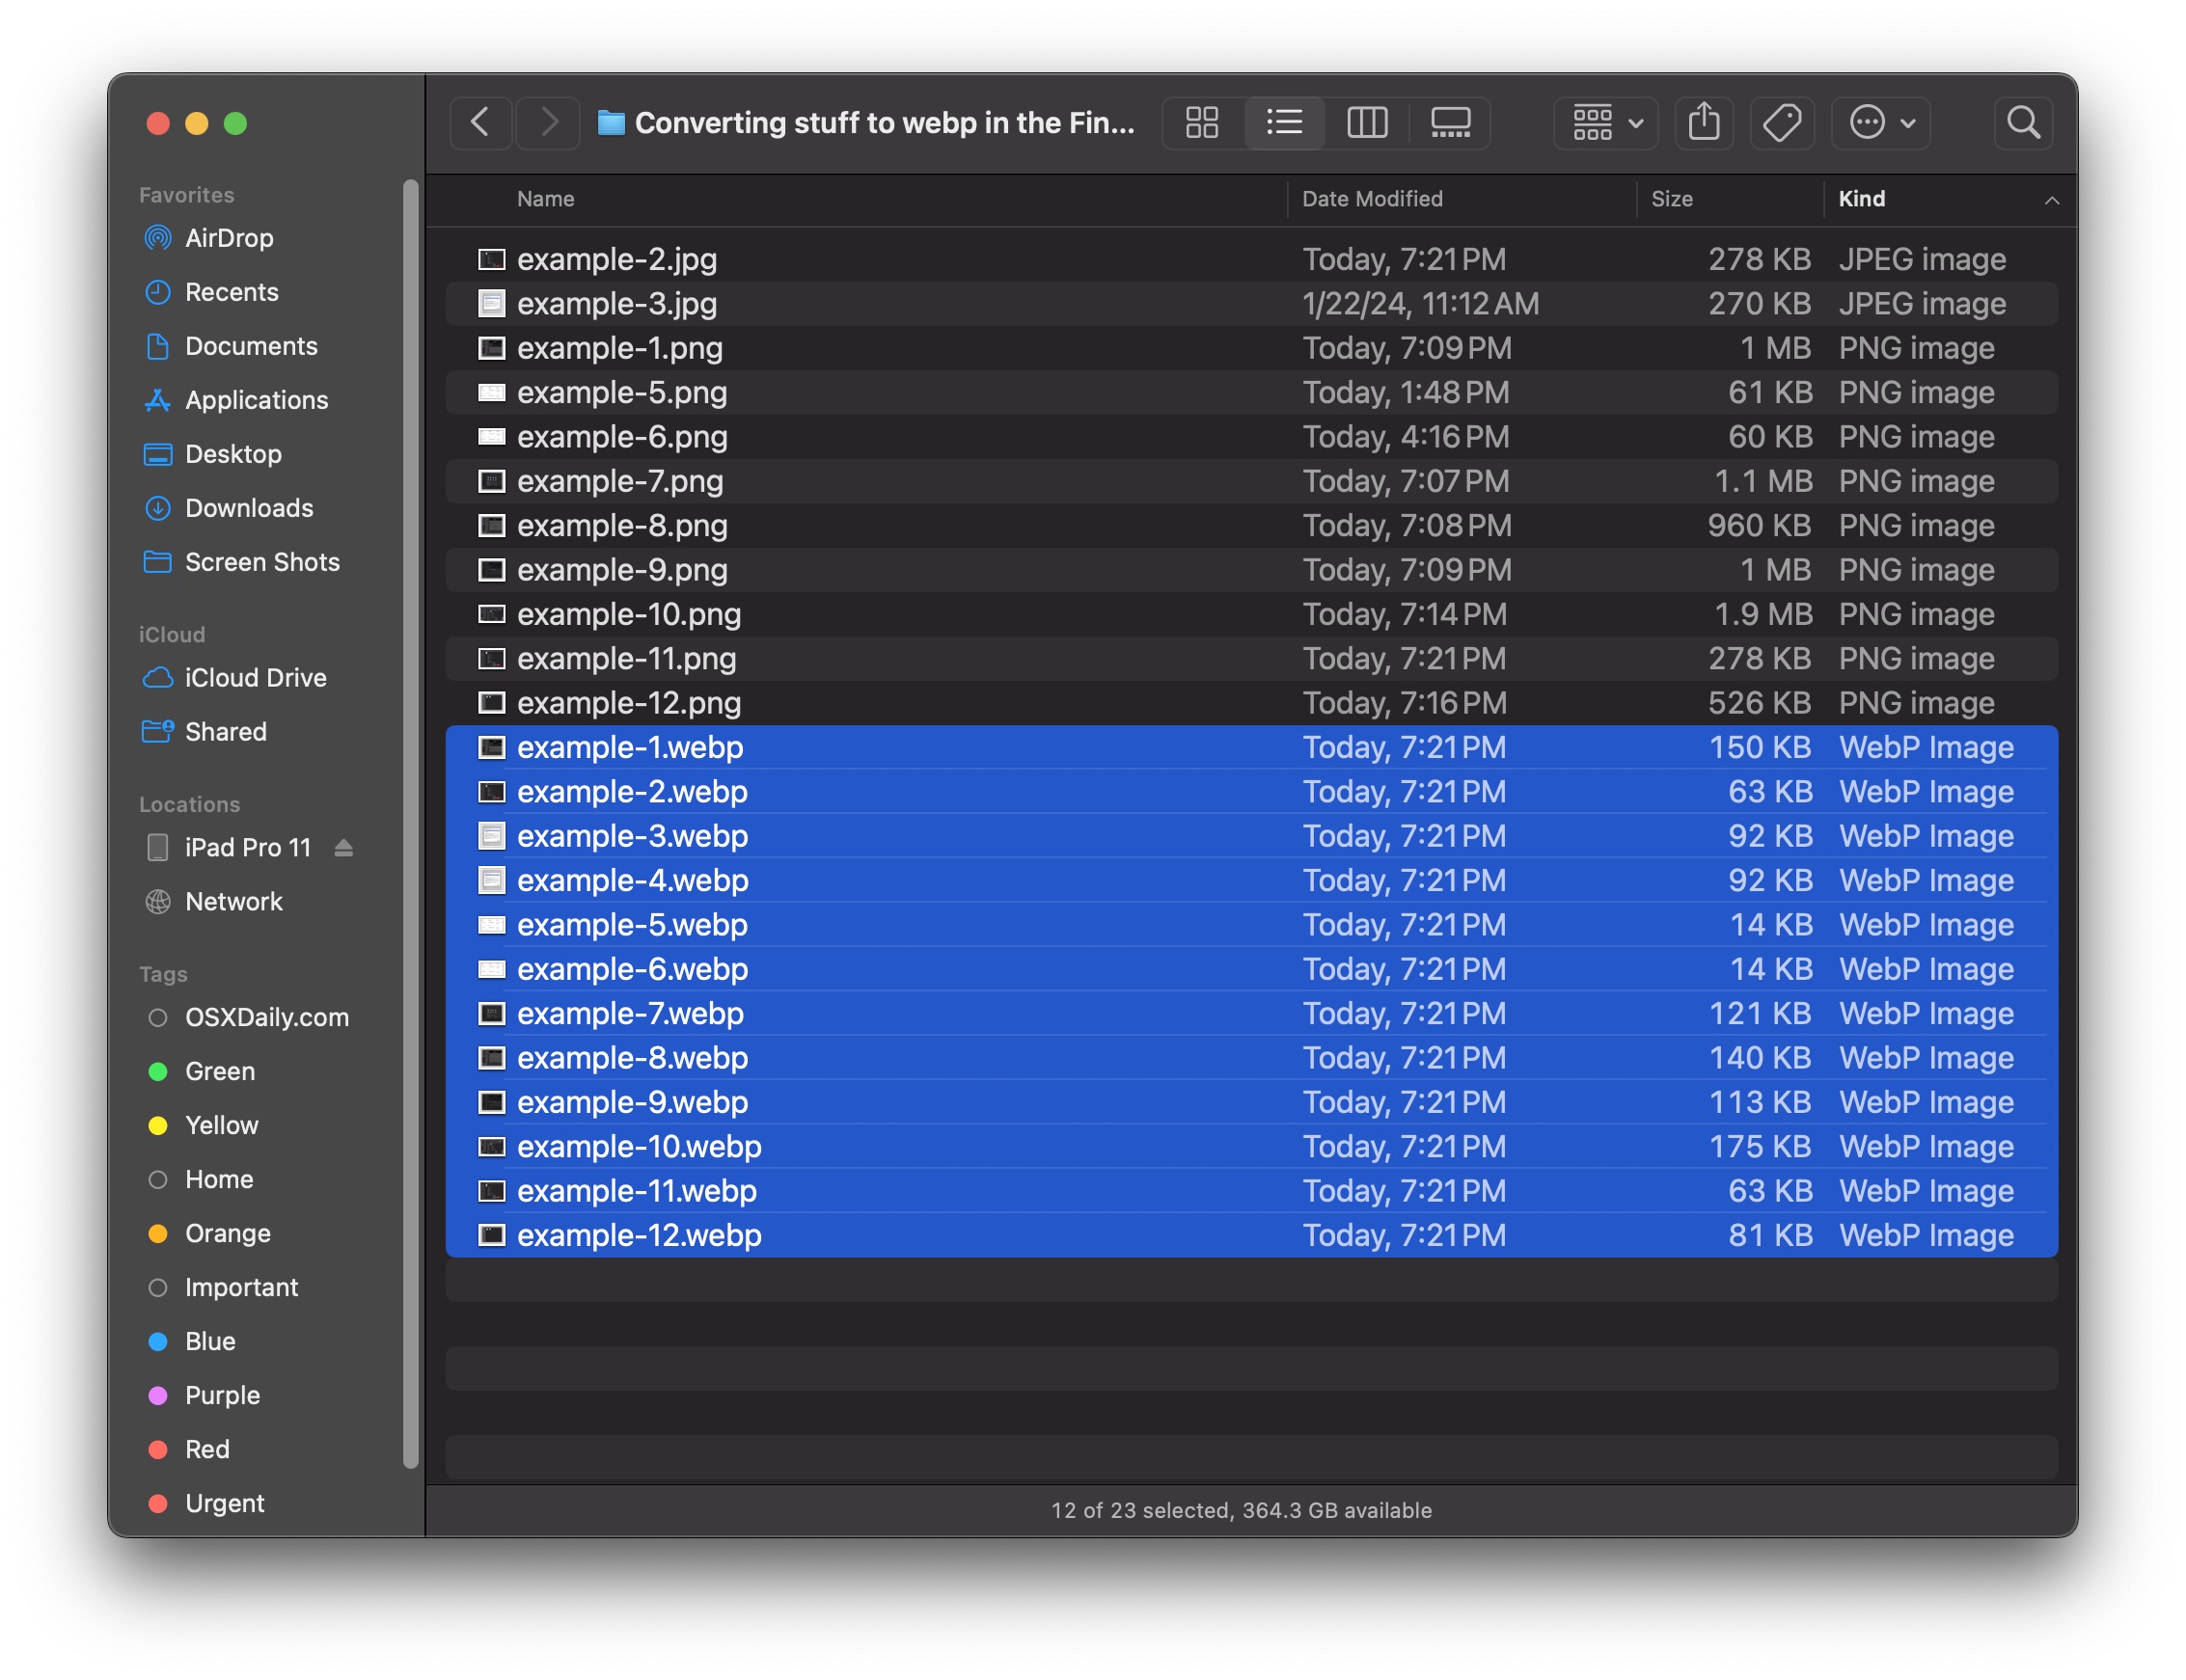
Go to OSX Daily to read How to Batch Convert Images to WebP on Mac As WebP grows in popularity as a compressed image format for the web, many web workers need to convert batches of images to WebP format from their Mac. Bulk converting images like JPG and PNG to WebP is not currently…
-
Fix a MacBook Air Not Charging When Plugged In
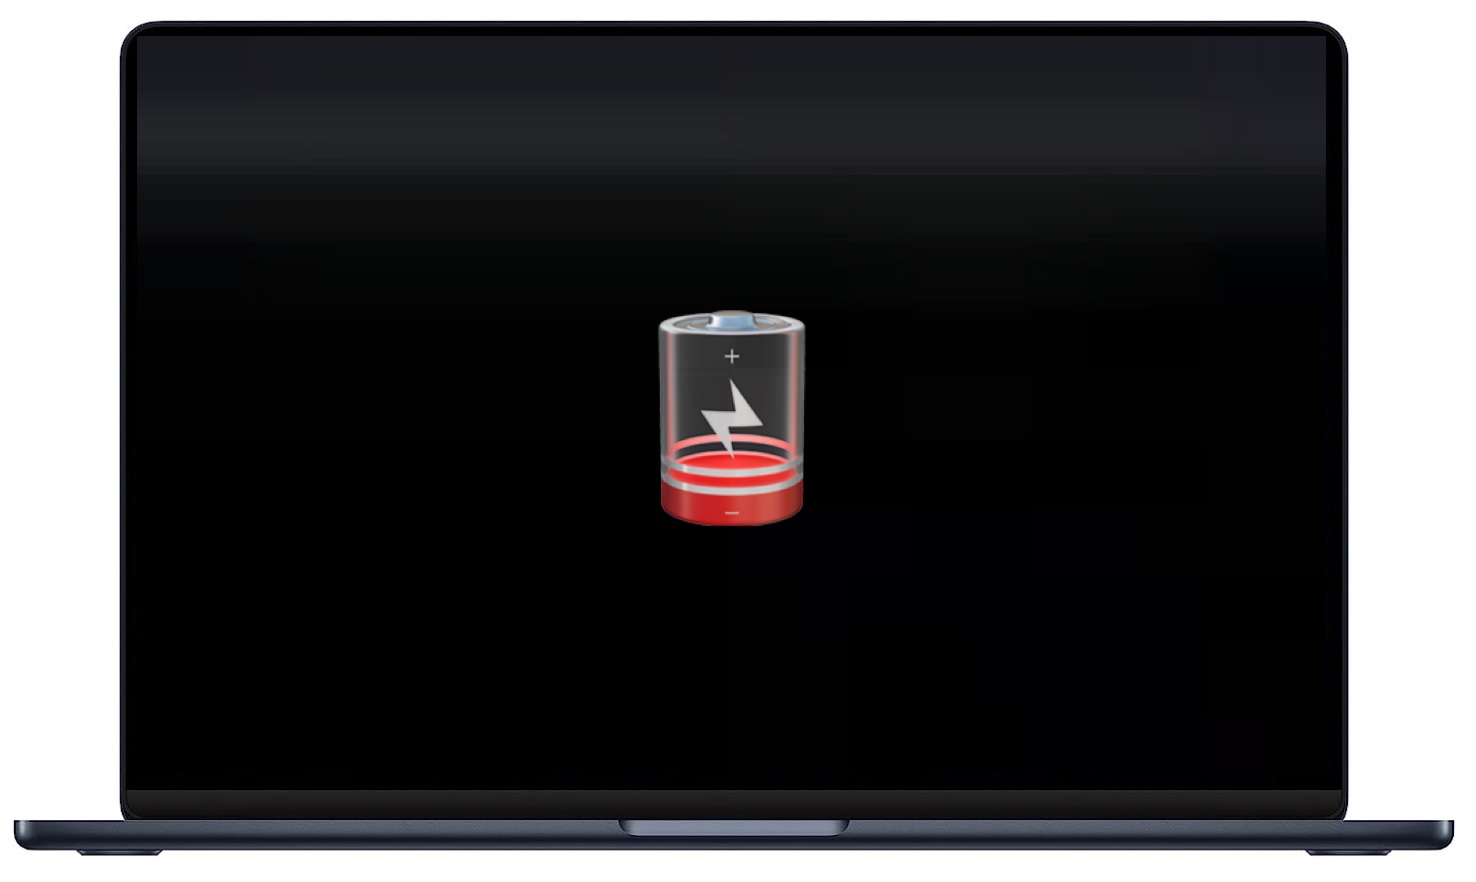
Go to OSX Daily to read Fix a MacBook Air Not Charging When Plugged In MacBook Air is a fantastic laptop from Apple that is also very popular, with untold numbers of users around the world. While most people will never run into issues charging their MacBook Air, issues can happen where the MacBook Air…
-
Safari Autofill Security Codes Not Working on Mac? Here’s a Tip
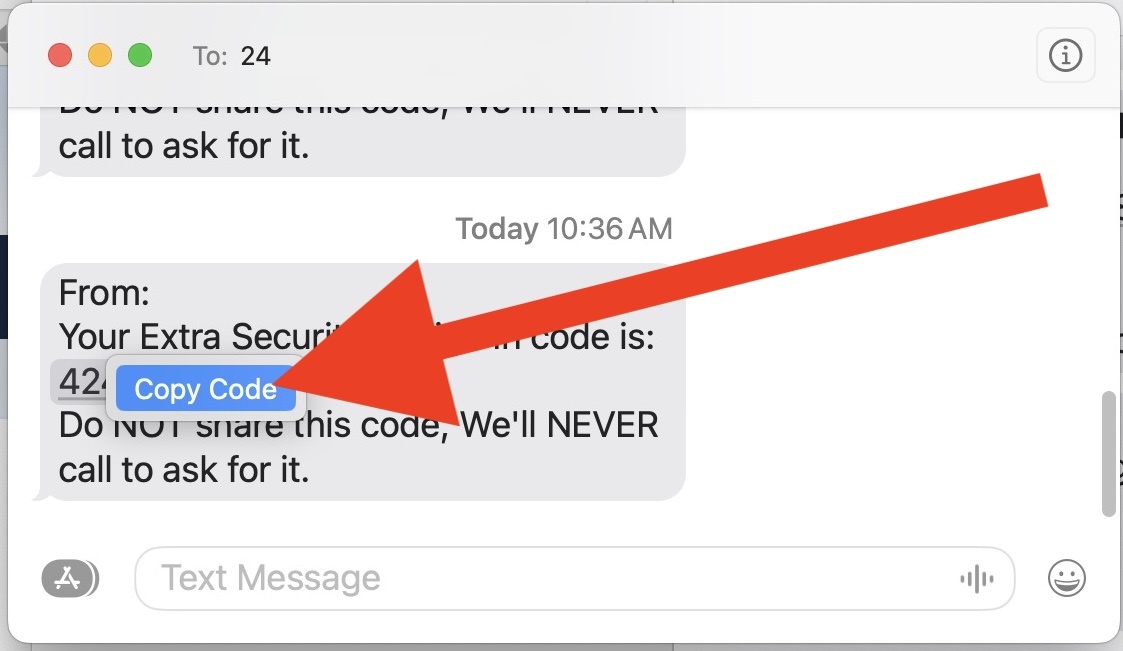
Go to OSX Daily to read Safari Autofill Security Codes Not Working on Mac? Here’s a Tip Modern versions of Safari for Mac include an incredibly useful Autofill Security Code feature, that allows security codes that are texted to your number to be automatically filled in when you are logging into secure websites in Safari…
-
How to Set Alarm Clock on Mac
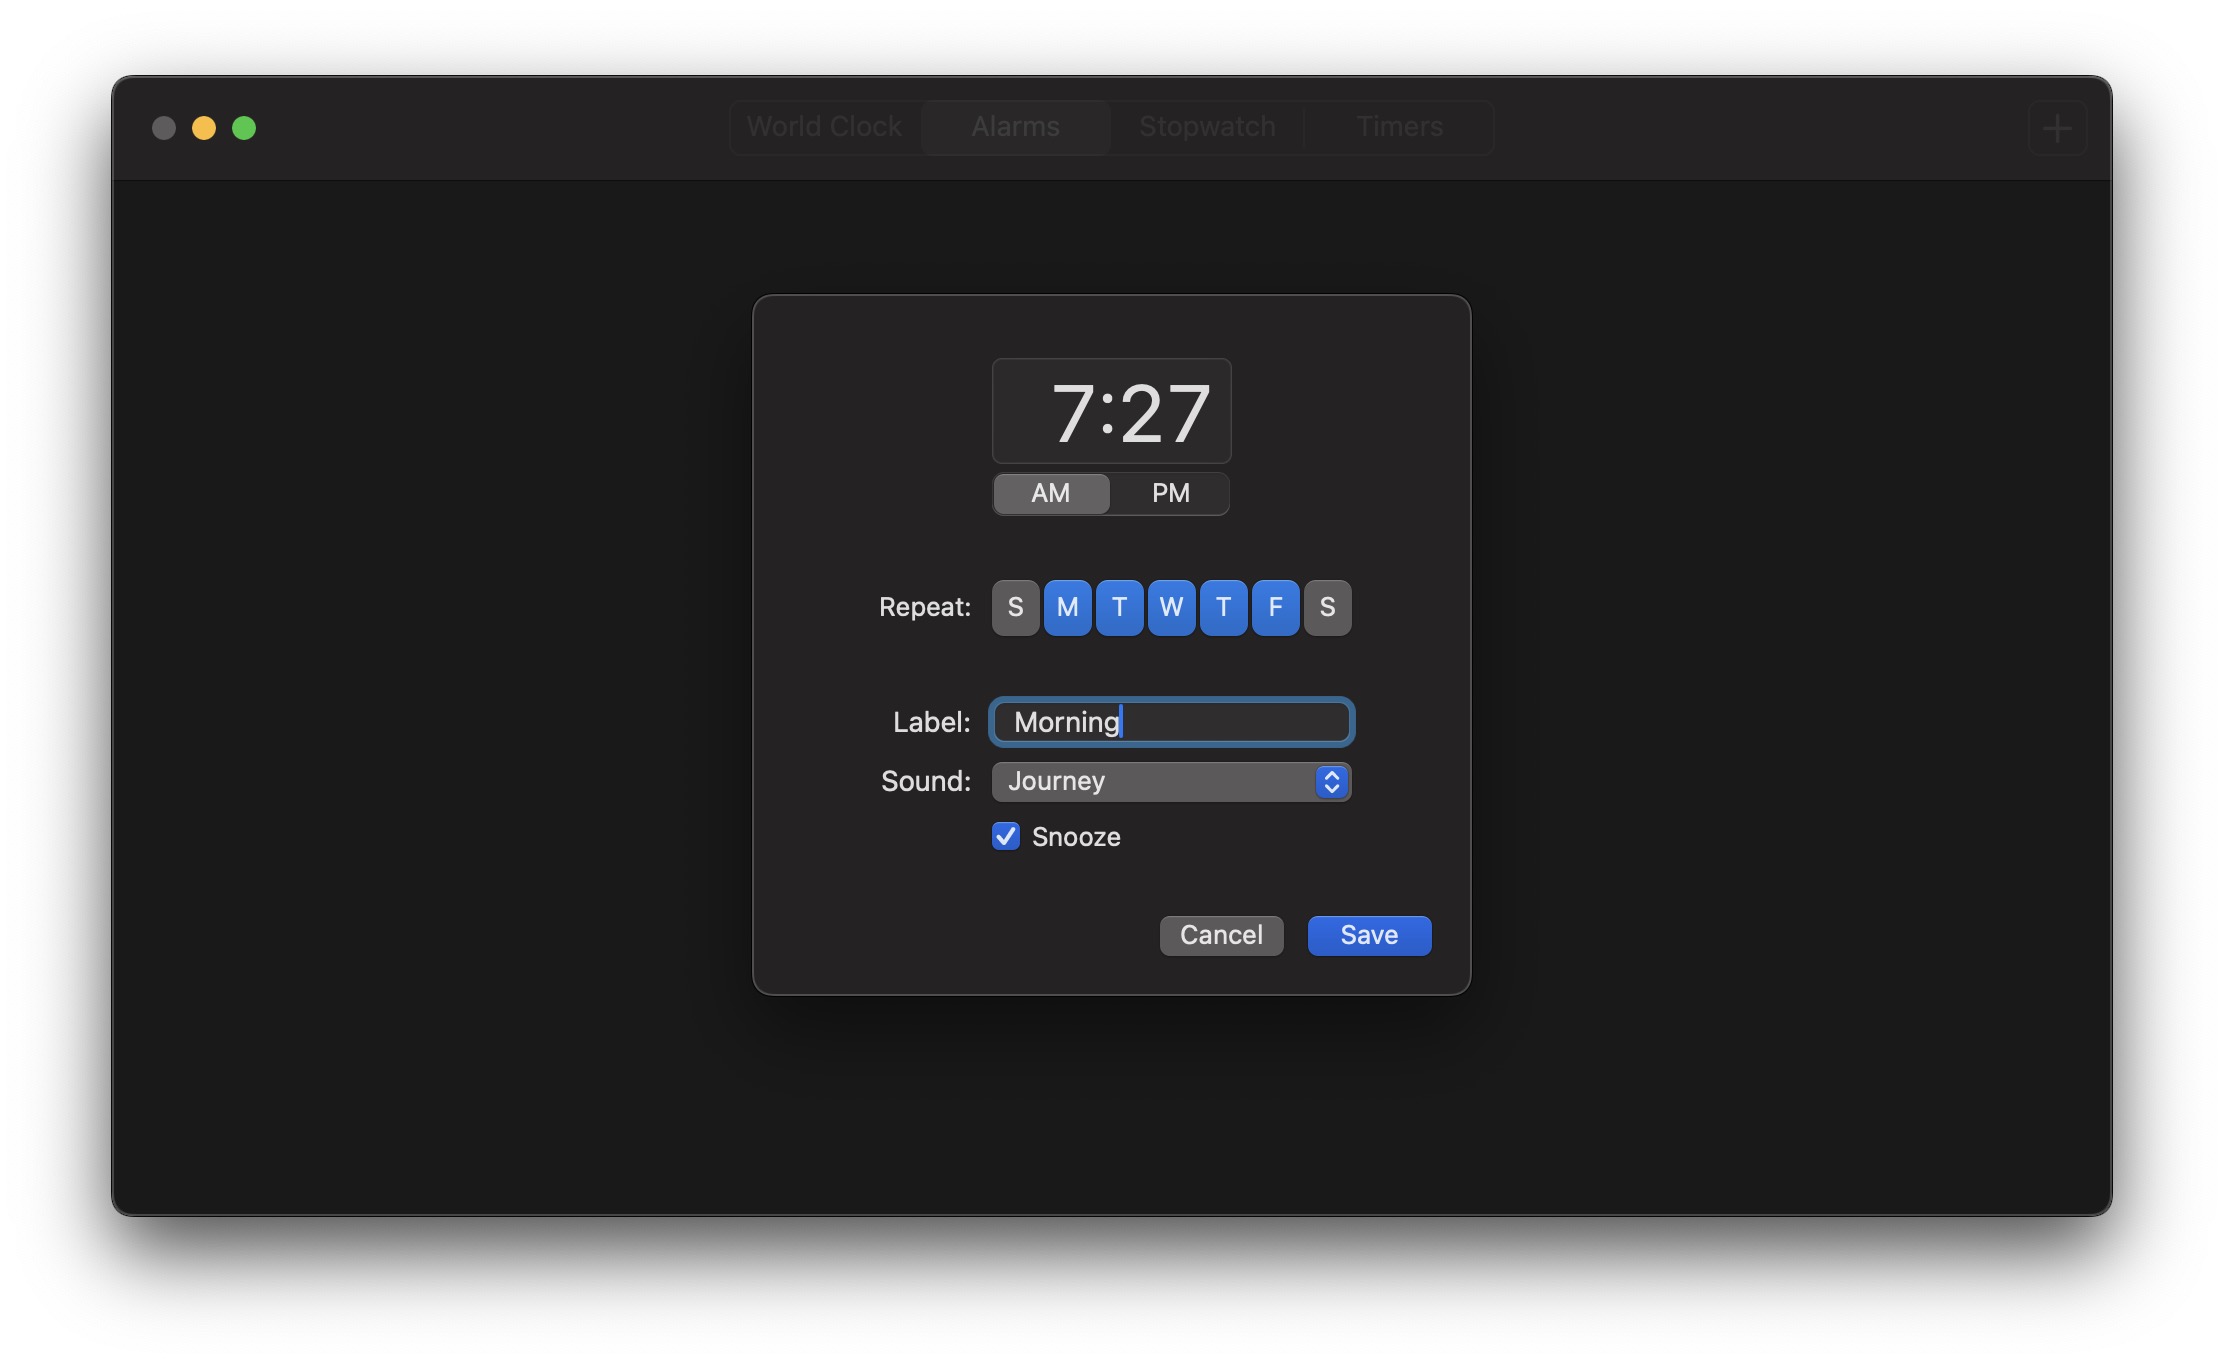
Go to OSX Daily to read How to Set Alarm Clock on Mac Modern versions of MacOS have a built-in alarm clock, thanks to the addition of Clock app for Mac. This means that you can set an alarm clock on the Mac, a feature that has been long wanted as a native capability by…
-
Add Corporate Earnings Reports to Your Calendar on Mac, iPhone, iPad via Stocks App

Go to OSX Daily to read Add Corporate Earnings Reports to Your Calendar on Mac, iPhone, iPad via Stocks App The Stocks app for iPhone, Mac, and iPad, now offers a super convenient way of knowing when a companies upcoming earnings reports will be, and, even better for you earnings season enthusiasts, you can add…
-
How to Convert Images to Webp on Mac from Command Line
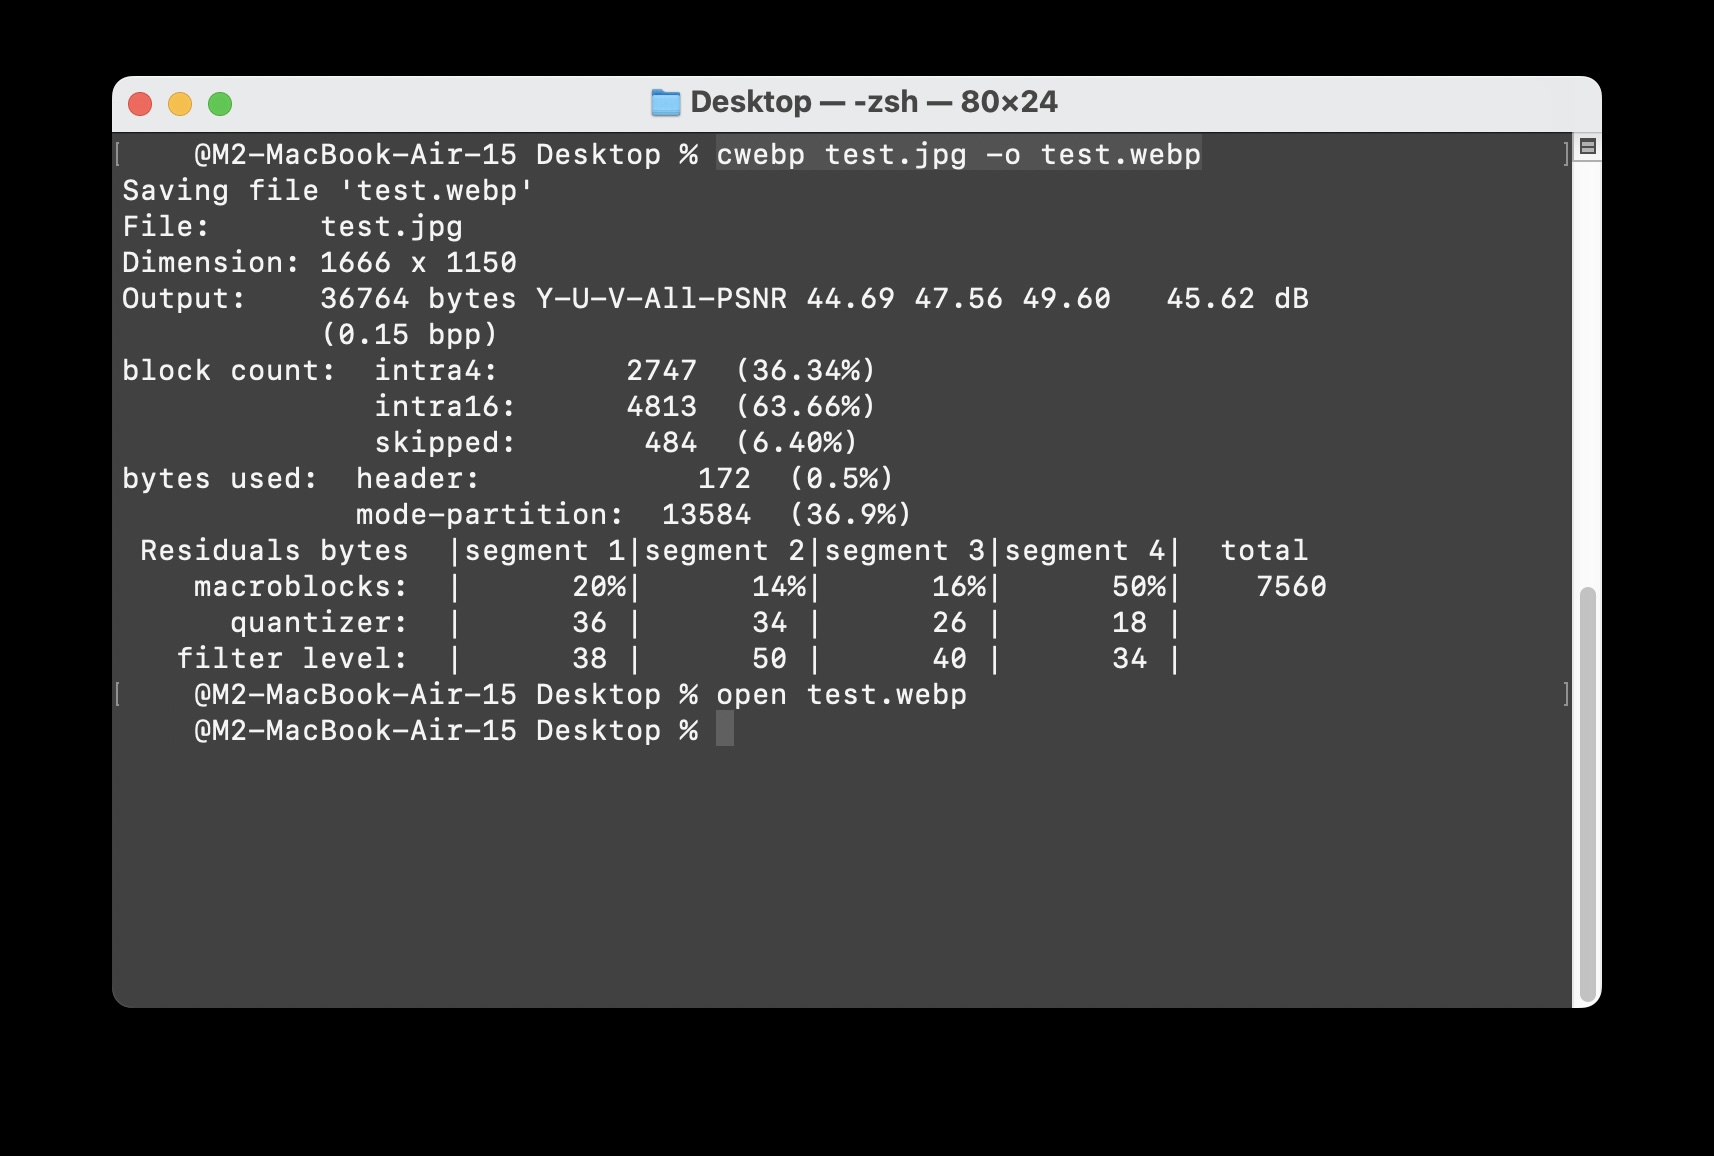
Go to OSX Daily to read How to Convert Images to Webp on Mac from Command Line Do you need to convert images to webp format from the Mac? Converting images to WebP offers tremendous file size savings, often compressing an image up to 70% without losing image quality, so it’s understandable why many Mac…
-
Slow Performance in MacOS Sonoma? Fix Sluggish Speed on Mac

Go to OSX Daily to read Slow Performance in MacOS Sonoma? Fix Sluggish Speed on Mac MacOS Sonoma is a perfectly great operating system for most Mac users, and many feel its variety of features and general enhancements offer improvements over its predecessor. However, not all MacOS Sonoma users are thrilled, and some people feel…
-
Download Windows 11 ISO from a Mac
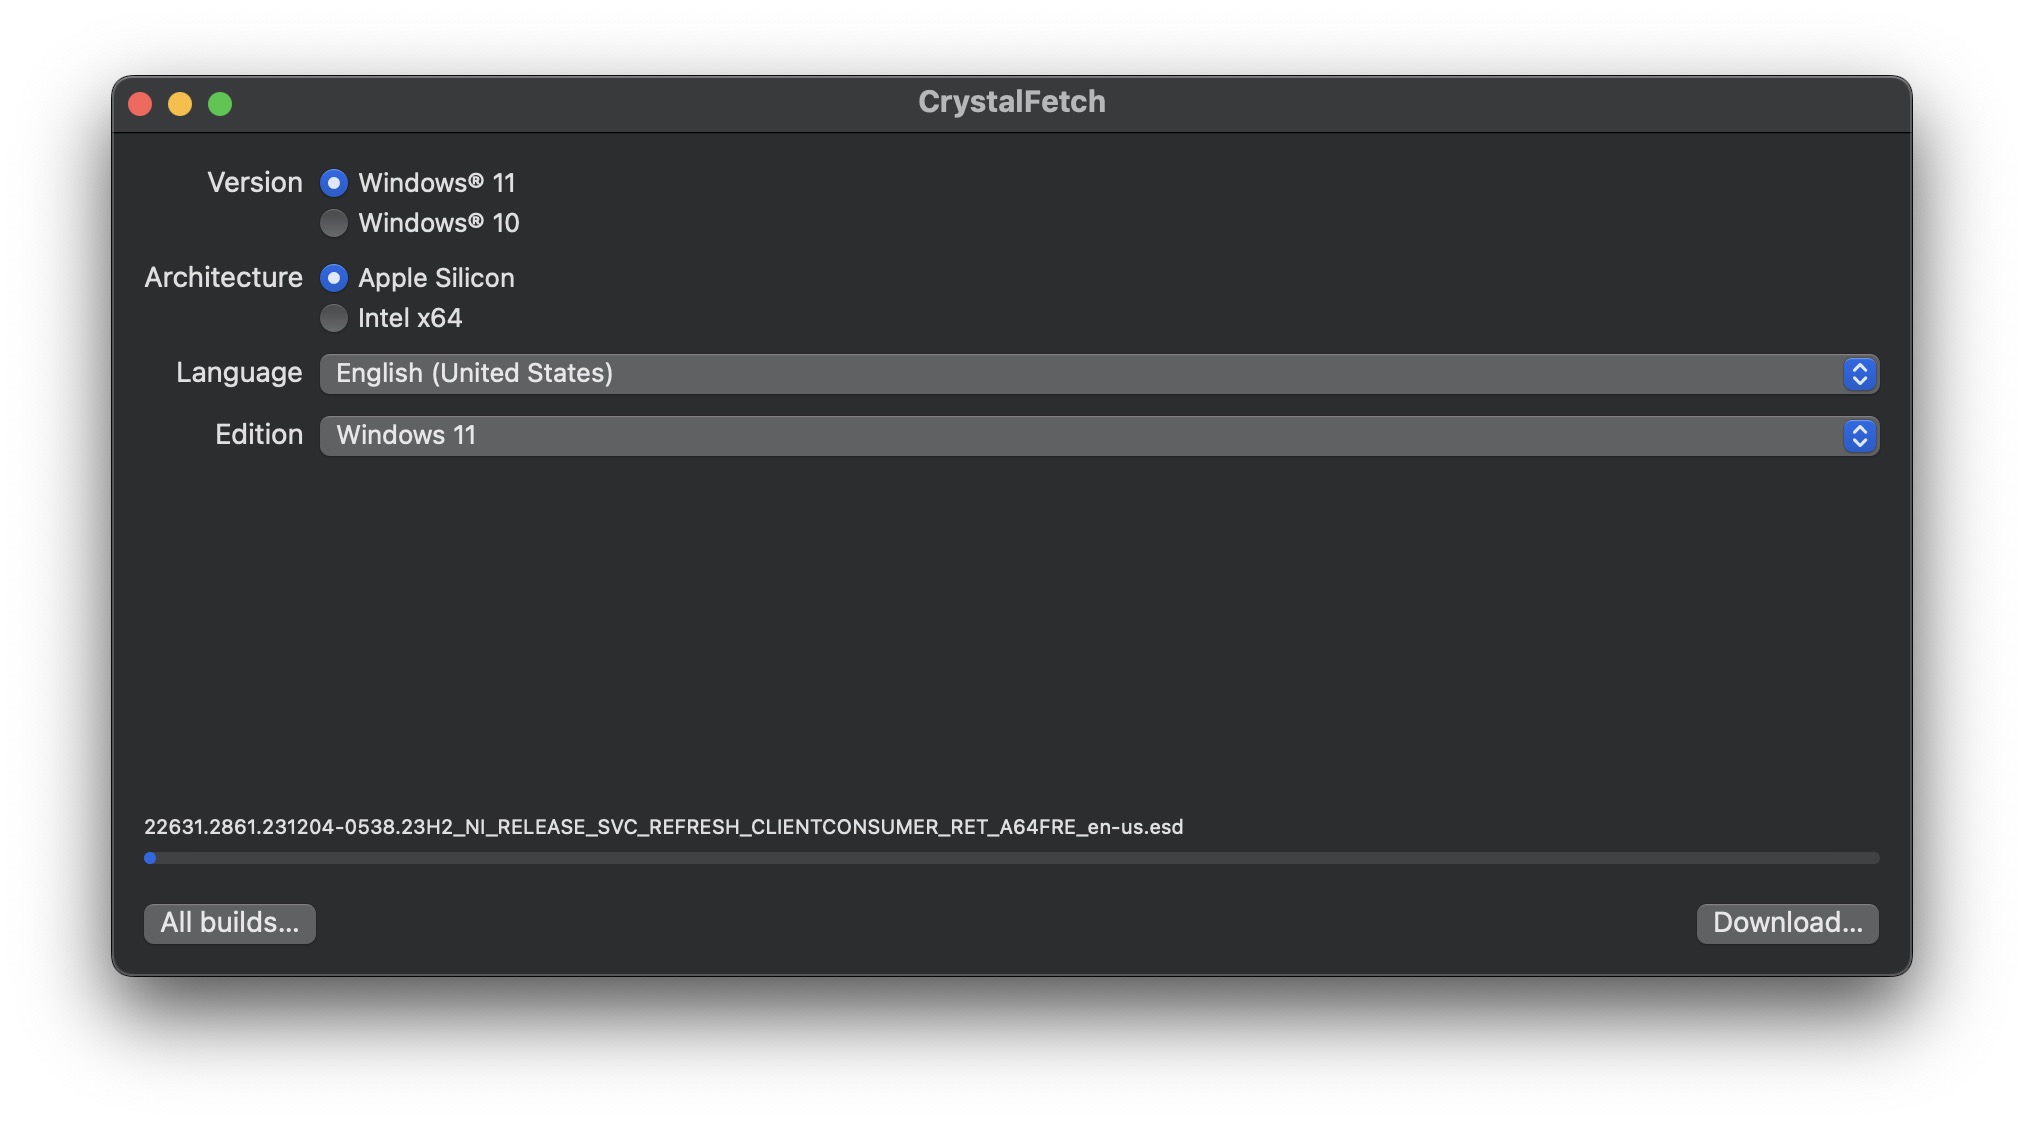
Go to OSX Daily to read Download Windows 11 ISO from a Mac You can download and build a Windows 11 installer ISO from a Mac with the help of a free MacOS app called CrystalFetch. CrystalFetch is a very simple app that will download and build a Windows 11 ISO or Windows 10 ISO…