-
How to Make Microsoft Edge the Default Mac Web Browser
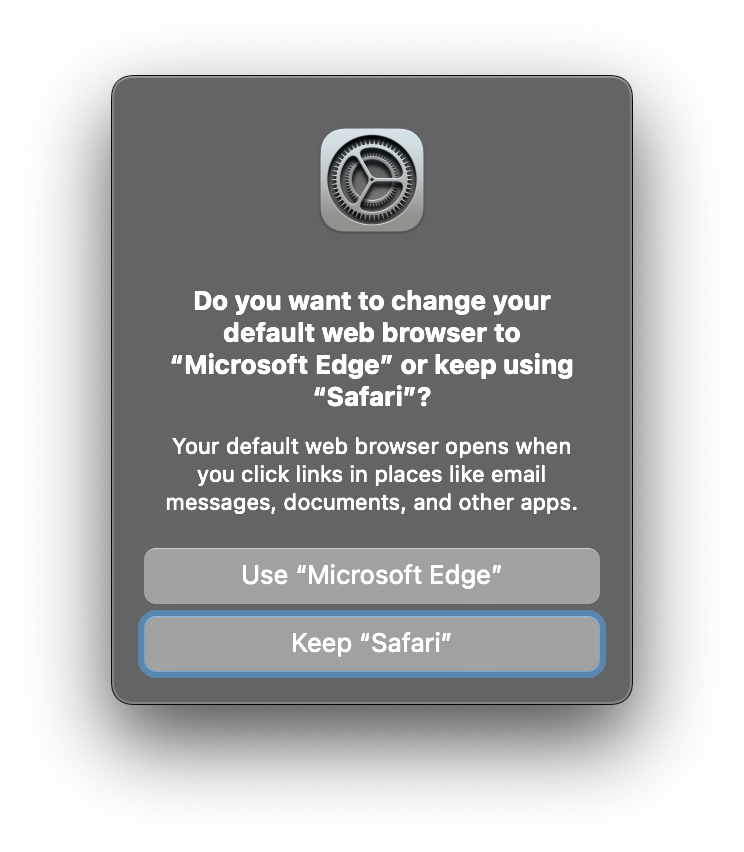
Go to OSX Daily to read How to Make Microsoft Edge the Default Mac Web Browser Microsoft Edge is a great web browser alternative that is available for MacOS, iPhone, iPad, and obviously Windows, and Android too. Not only is it fast and offers free access to ChatGPT 4, but if you regularly use different…
-
How to Disable Content Blockers for Specific Sites in Safari for Mac
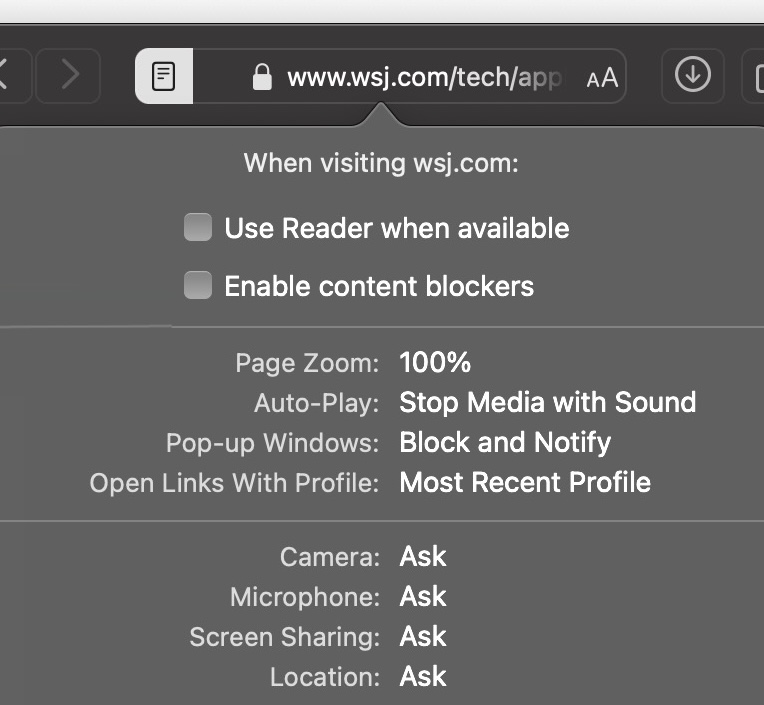
Go to OSX Daily to read How to Disable Content Blockers for Specific Sites in Safari for Mac Some Mac users have content blockers installed into Safari, which are usually designed to prevent a part of a webpage from loading, things like preventing a remote javascript that tracks cookies or loads ads, or something that…
-
Use a Free Net Worth Spreadsheet on iPhone, Mac, iPad, with Numbers
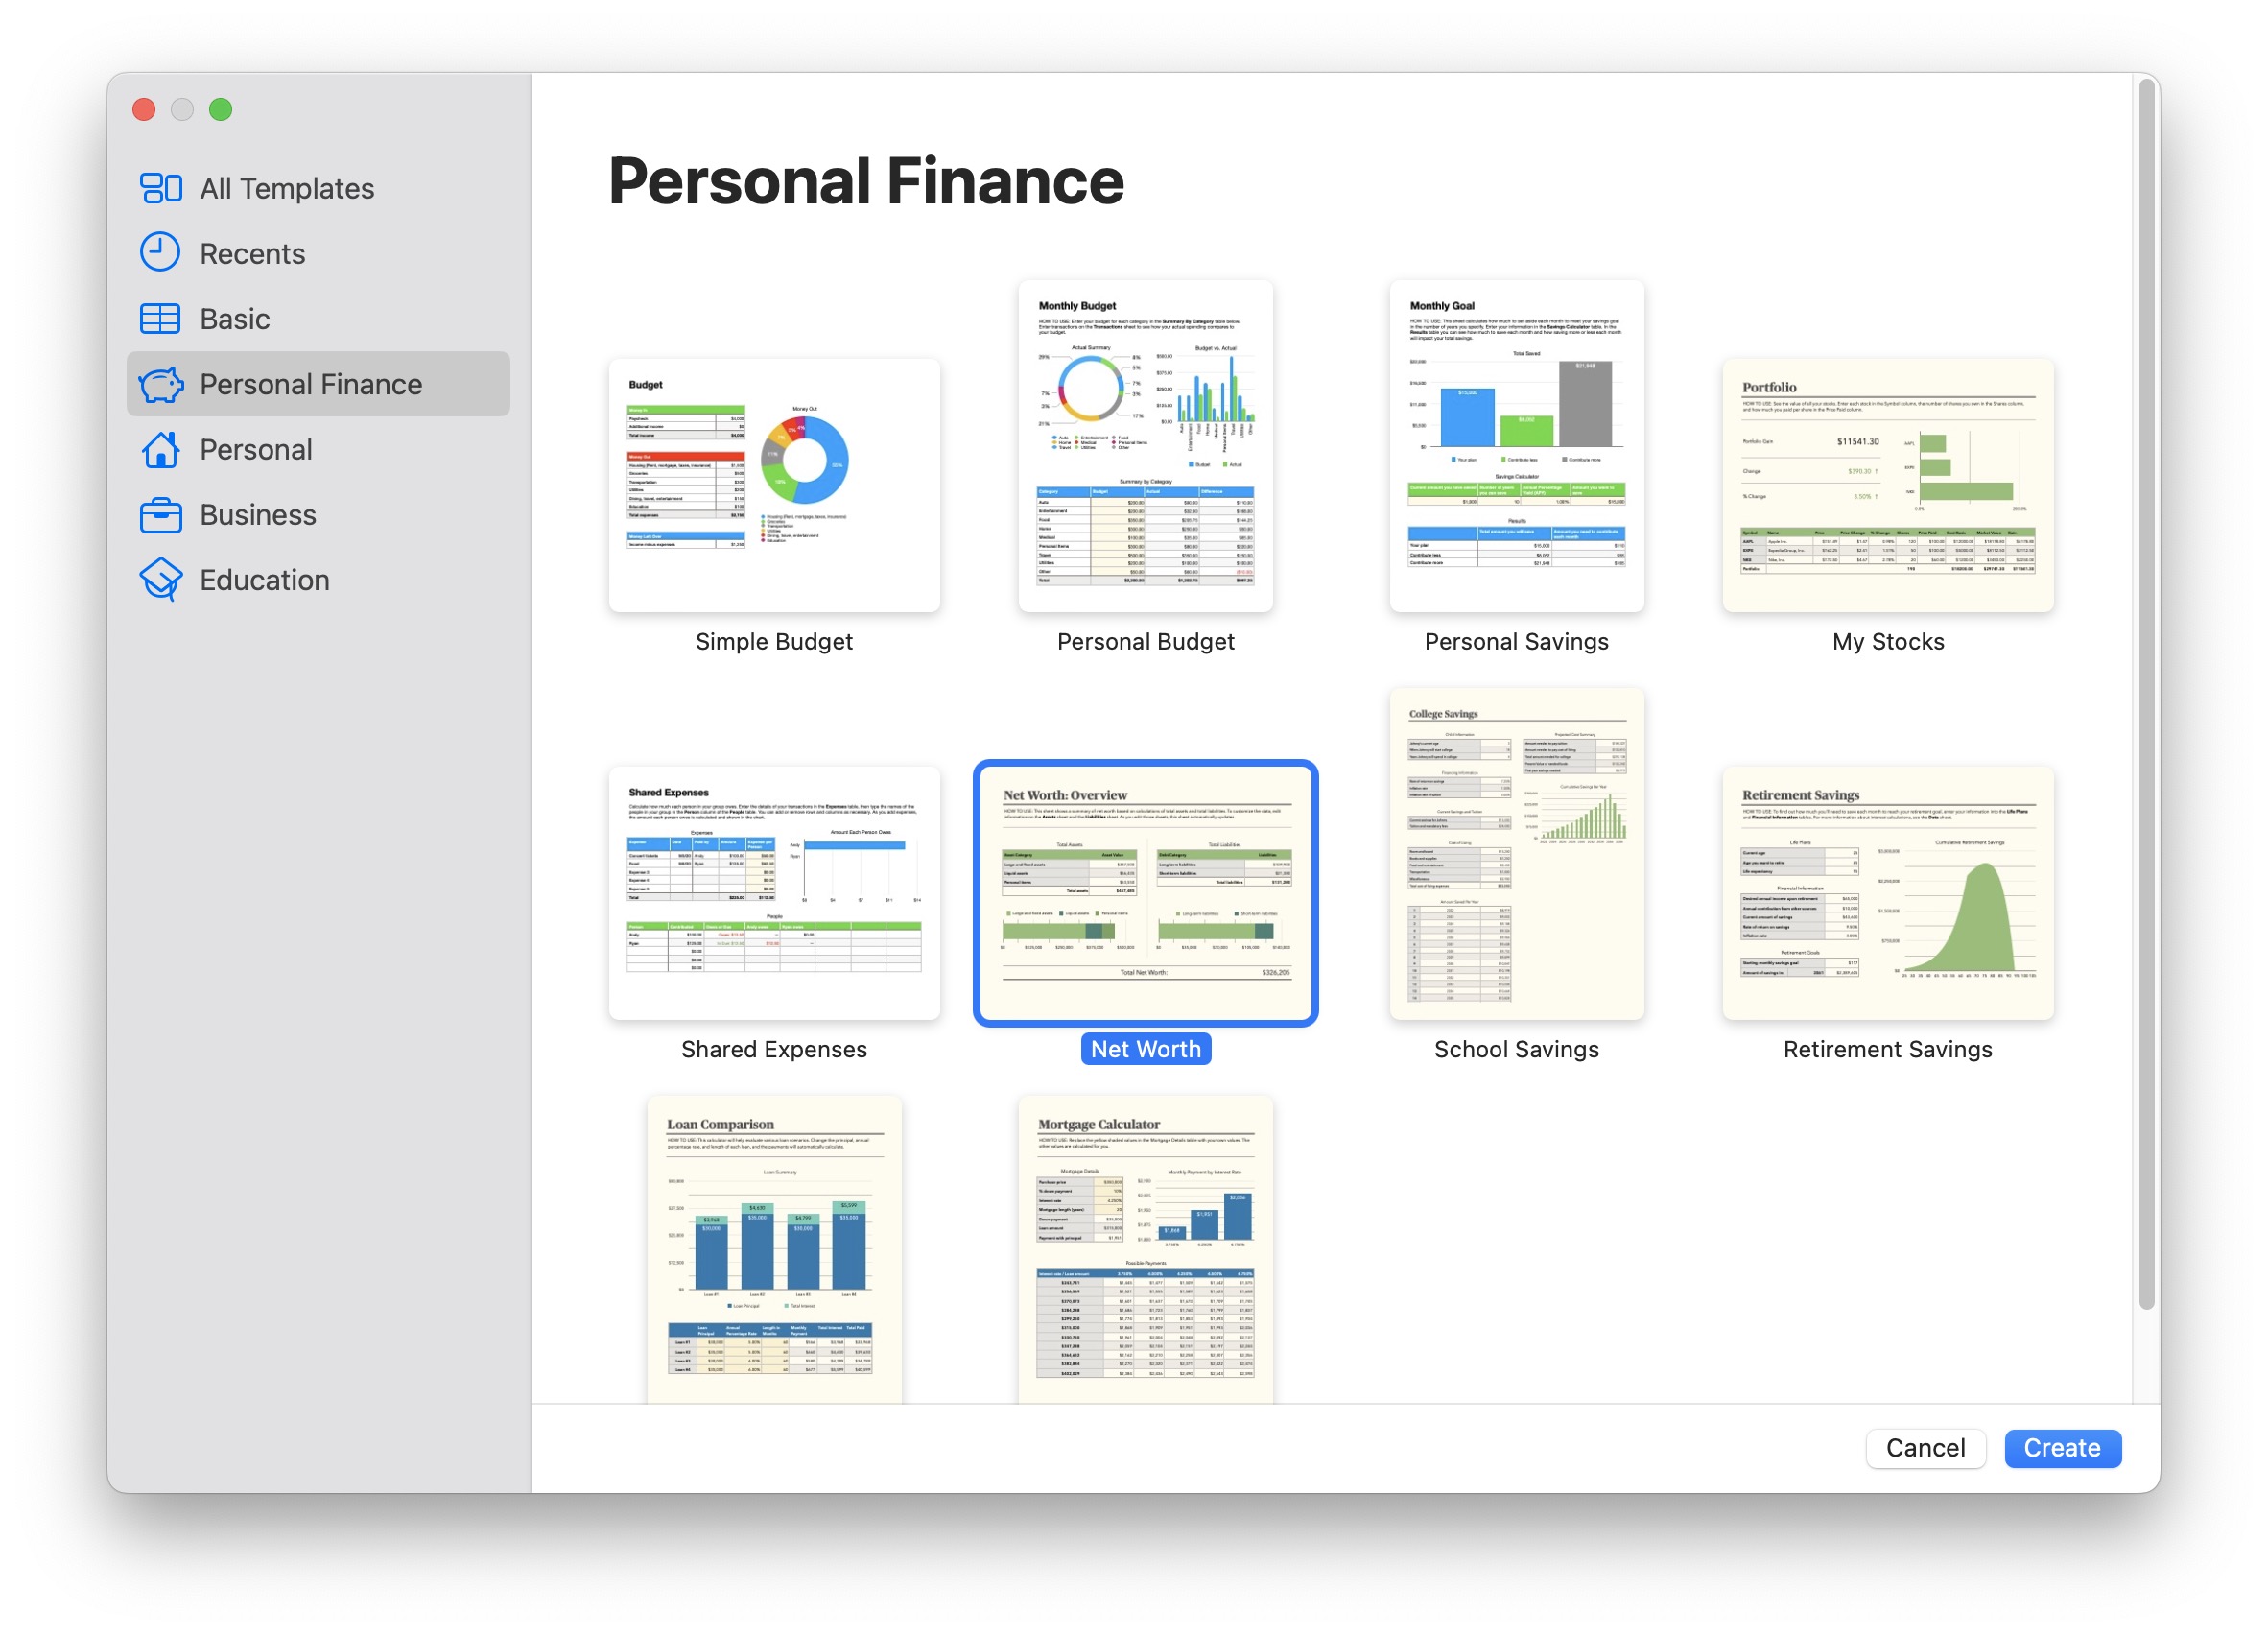
Go to OSX Daily to read Use a Free Net Worth Spreadsheet on iPhone, Mac, iPad, with Numbers If you’re looking to keep track of your net worth easily, you don’t need to download an app or sign up for a new service. If you’re an iPhone, Mac, or iPad owner, you’ll be happy to…
-
Where Are Screenshots Saved on Mac?
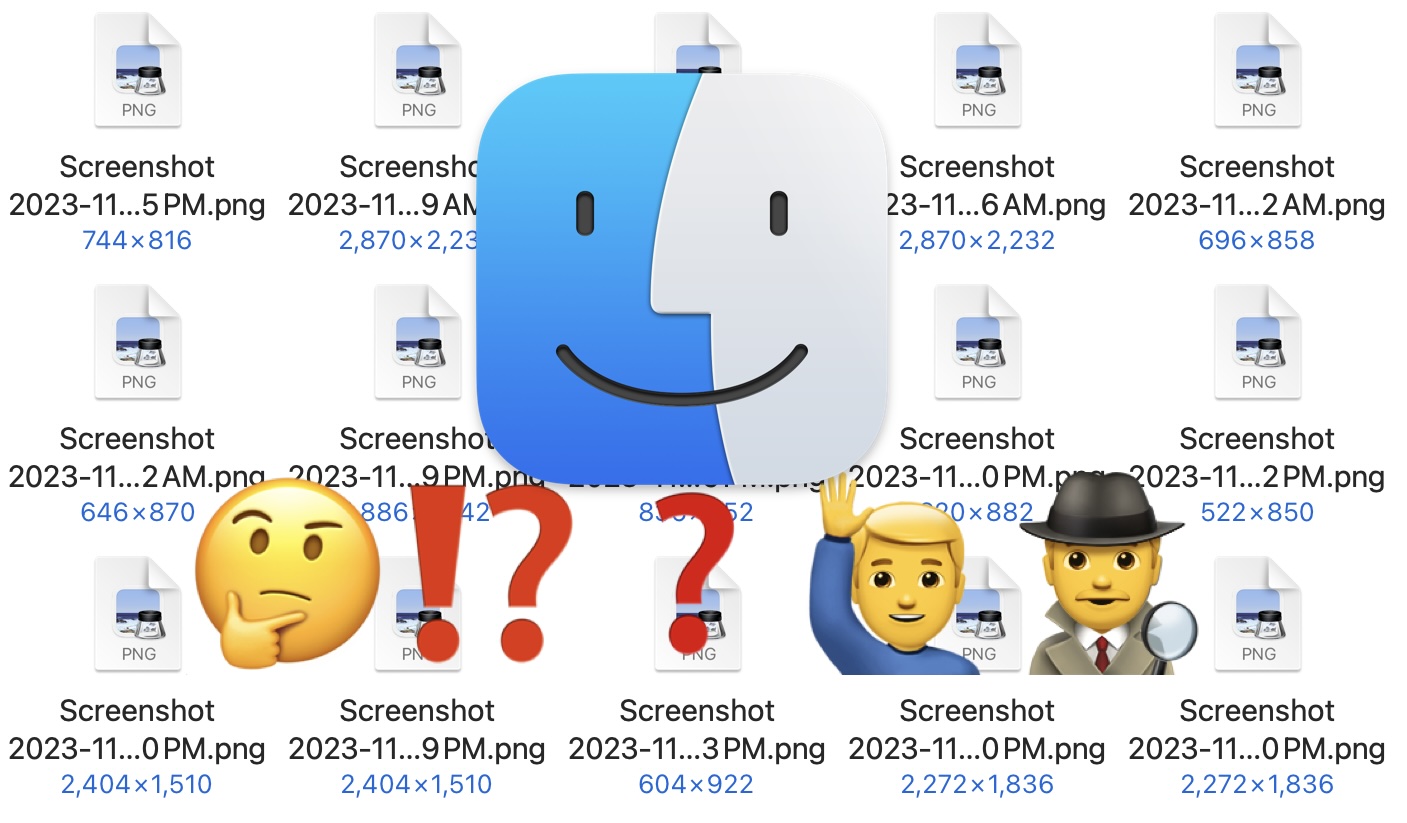
Go to OSX Daily to read Where Are Screenshots Saved on Mac? It’s a reasonable question to wonder where screenshots are stored on the Mac, particularly if you’re a Mac user that is taking screenshots who then needs to interact with those screen captures for whatever reason. Maybe you want to send a screenshot file…
-
How to Collaborate on Playlists with Spotify

Go to OSX Daily to read How to Collaborate on Playlists with Spotify Spotify is a fantastic music streaming platform that is widely used by many people around the world. Collaborating on music playlists with friends, family, coworkers, and loved ones, is a fun feature that is included with Spotify. But, like so many features…
-
How to Autofill Security Codes from Mail on Mac, iPhone, iPad
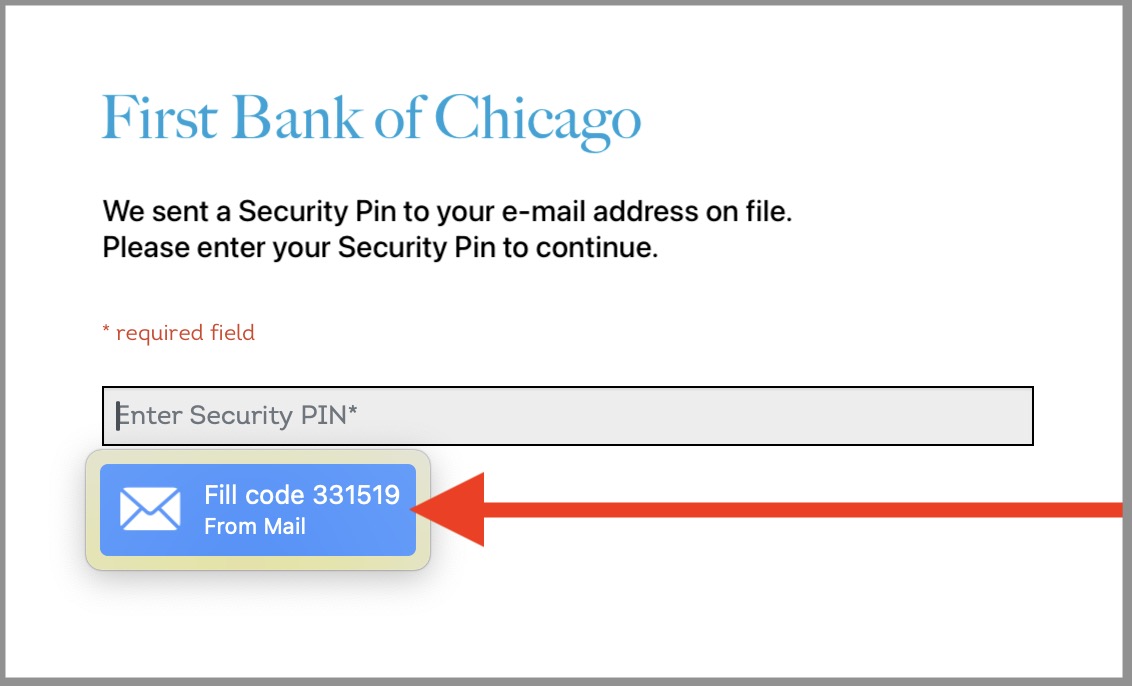
Go to OSX Daily to read How to Autofill Security Codes from Mail on Mac, iPhone, iPad The latest versions of Mail for iPhone, Mac, and iPad support a fantastic autofill security code feature. This is similar to the autofilling security code feature for SMS that is available in Messages for Mac, iPhone, and iPad,…
-
How to Stop “Upgrade to MacOS Sonoma” Notifications on Macs
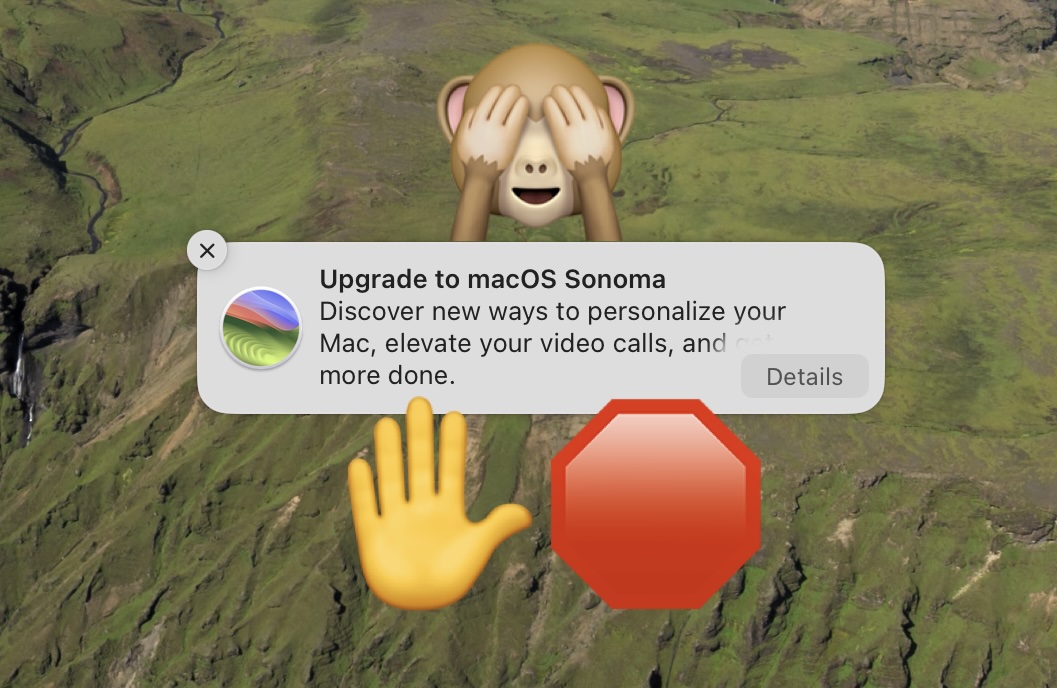
Go to OSX Daily to read How to Stop “Upgrade to MacOS Sonoma” Notifications on Macs Are you tired of seeing the “Upgrade to macOS Sonoma” notifications on your Mac running Ventura or Monterey? If so, you can hide those notifications and stop the “Upgrade to macOS Sonoma” nagging on your Mac. It’s not unusual…
-
How to Speed Up Auto-Showing/Hiding Dock on MacOS

Go to OSX Daily to read How to Speed Up Auto-Showing/Hiding Dock on MacOS A subtle way that you can tweak MacOS to make it feel a little faster is to speed up the auto-hiding and auto-showing time of the Dock. This obviously only applies to Mac users who hide their Dock by default, and…