-
How to Reinstall MacOS Monterey
Go to OSX Daily to read How to Reinstall MacOS Monterey Whether for troubleshooting or other purposes, you may arrive at a situation where you must reinstall MacOS Monterey onto a Mac that is presently running MacOS Monterey. The most convenient way to reinstall macOS is to simply reinstall the macOS system software, without erasing…
-
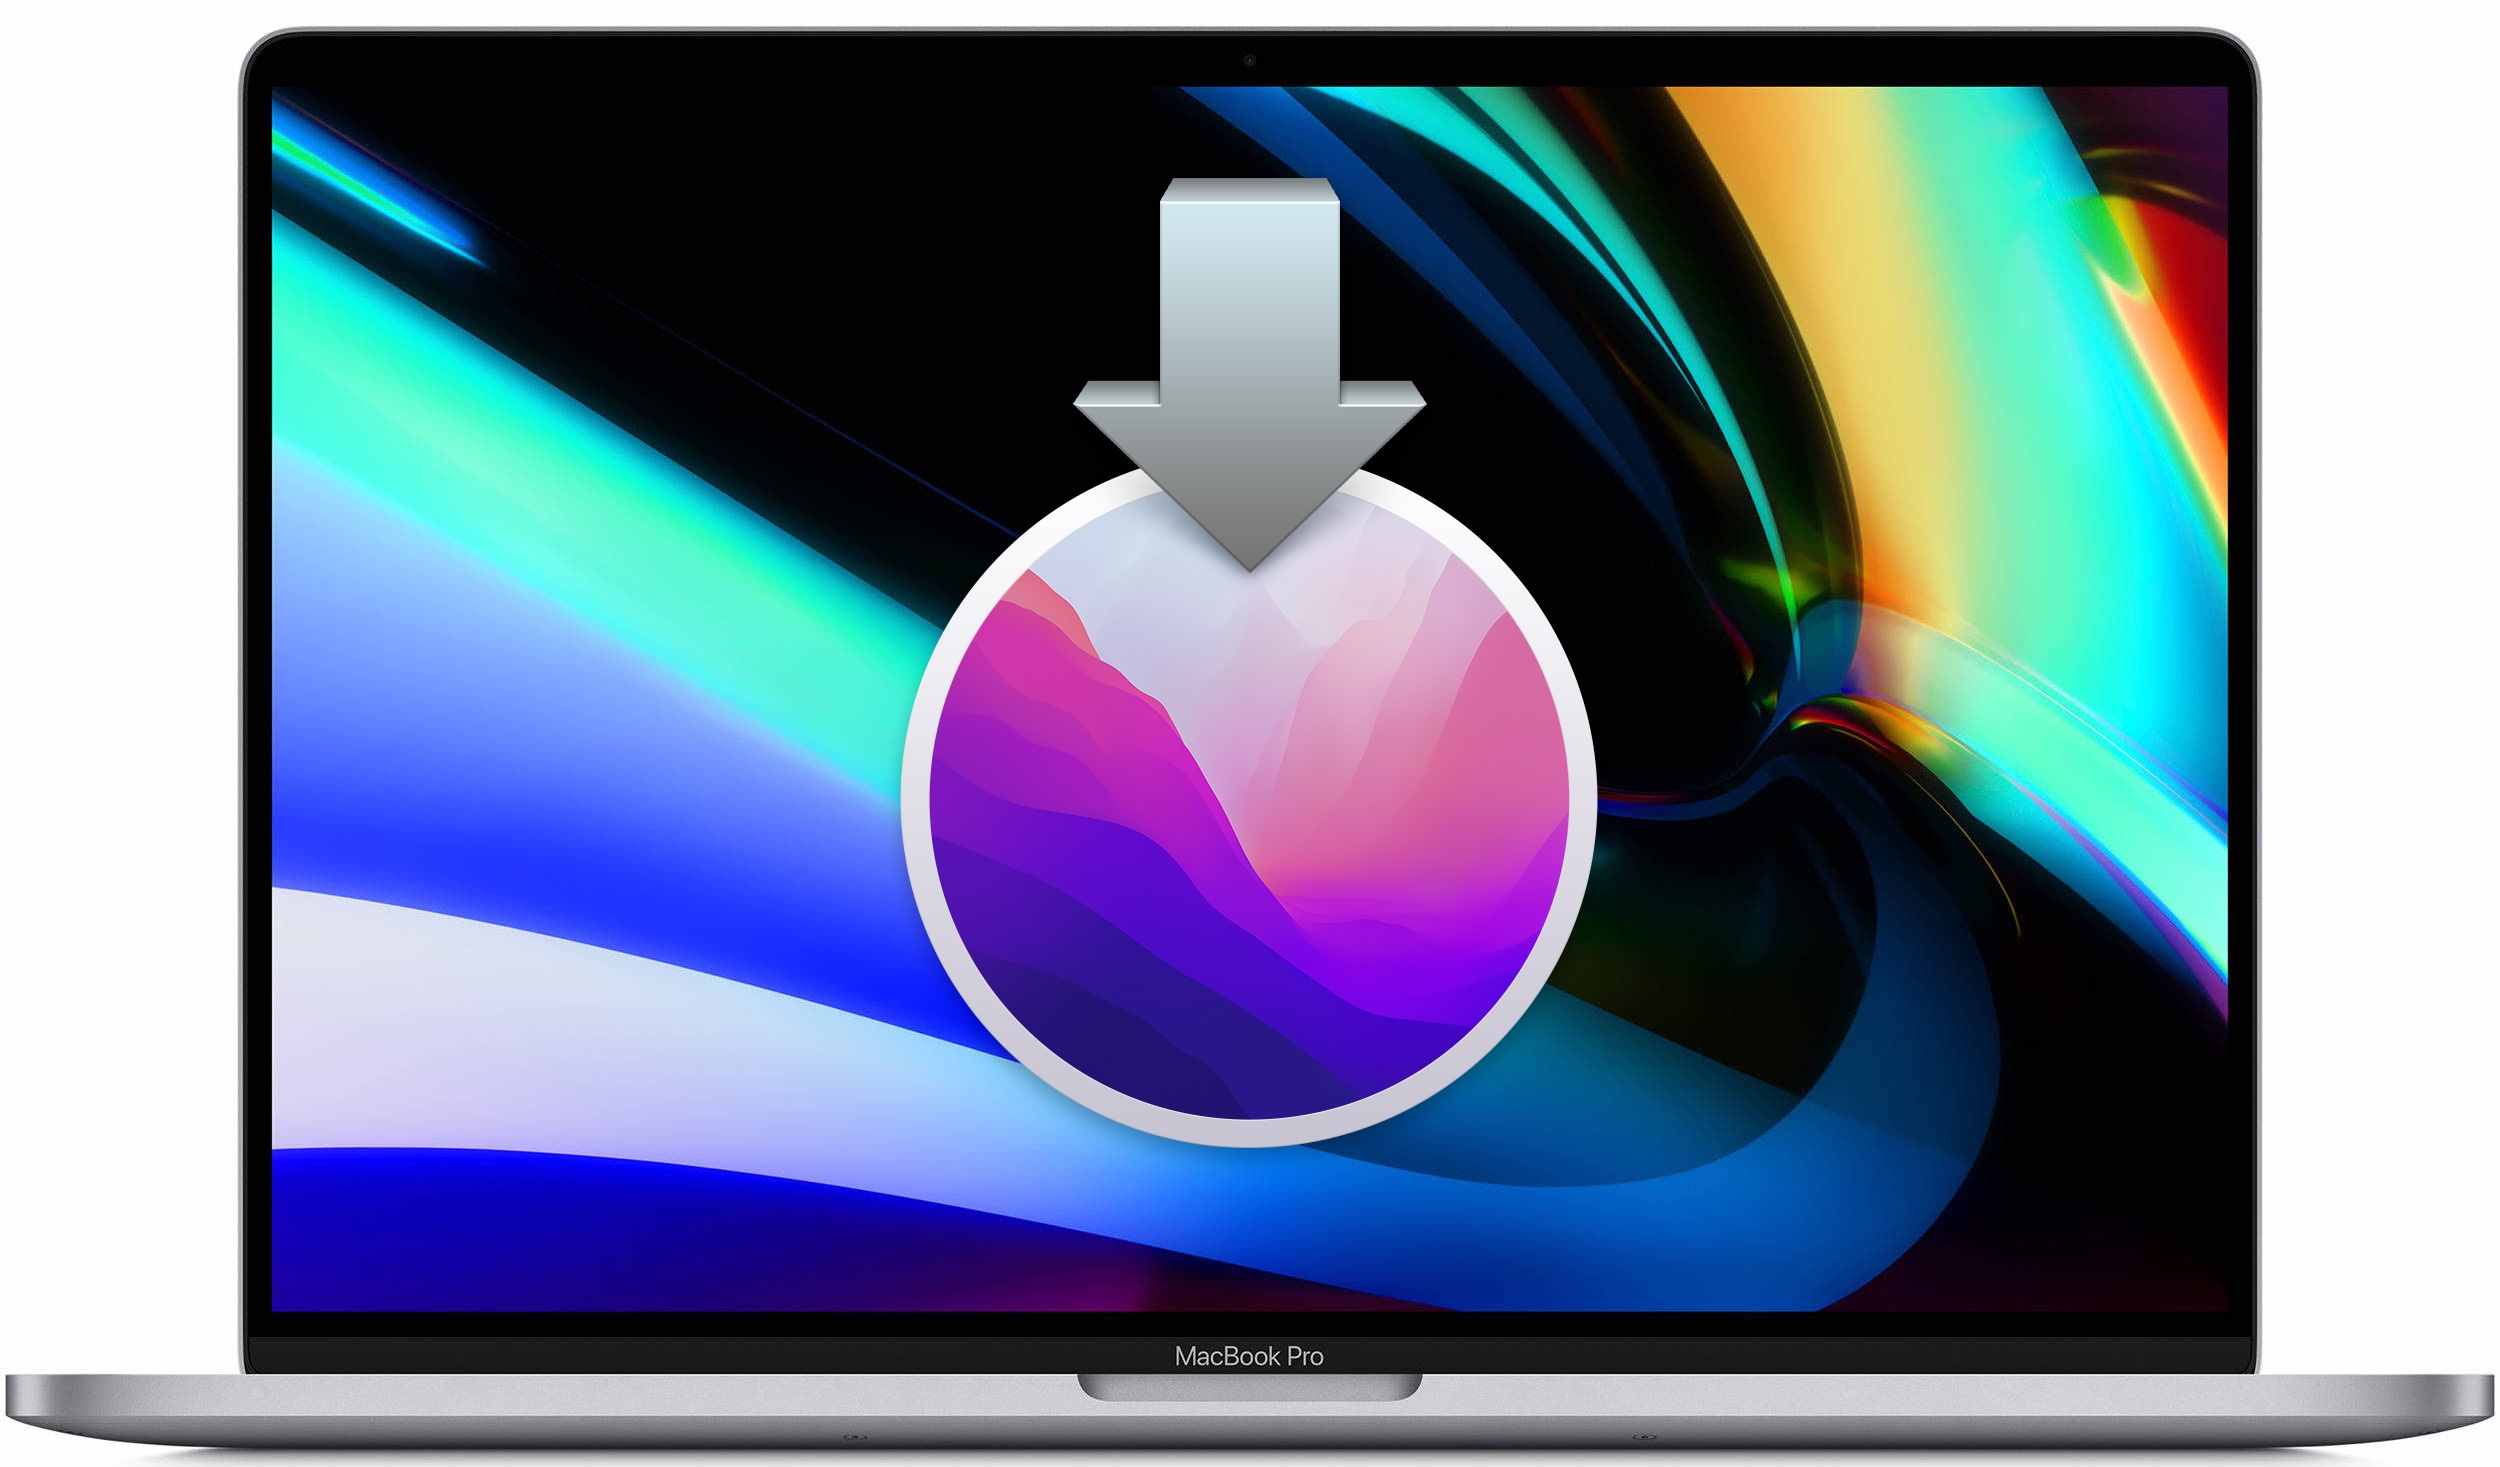
How to Right-Click Without a Mouse/Trackpad on Mac
Go to OSX Daily to read How to Right-Click Without a Mouse/Trackpad on Mac You are likely already familiar with how to right-click on a Mac when using a Mouse or Trackpad, either by using the control+click, two-finger click, or a literal right-click, but what if you don’t have access to a mouse or trackpad,…
-
How to Download All Photos from iCloud to Mac
Go to OSX Daily to read How to Download All Photos from iCloud to Mac If you have a bunch of photos and videos stored in iCloud Photos, you may be wondering how you can download all of your photos and videos from iCloud Photos to your Mac local storage, or to an external hard…
-
Convert Images on Mac Quickly from Finder
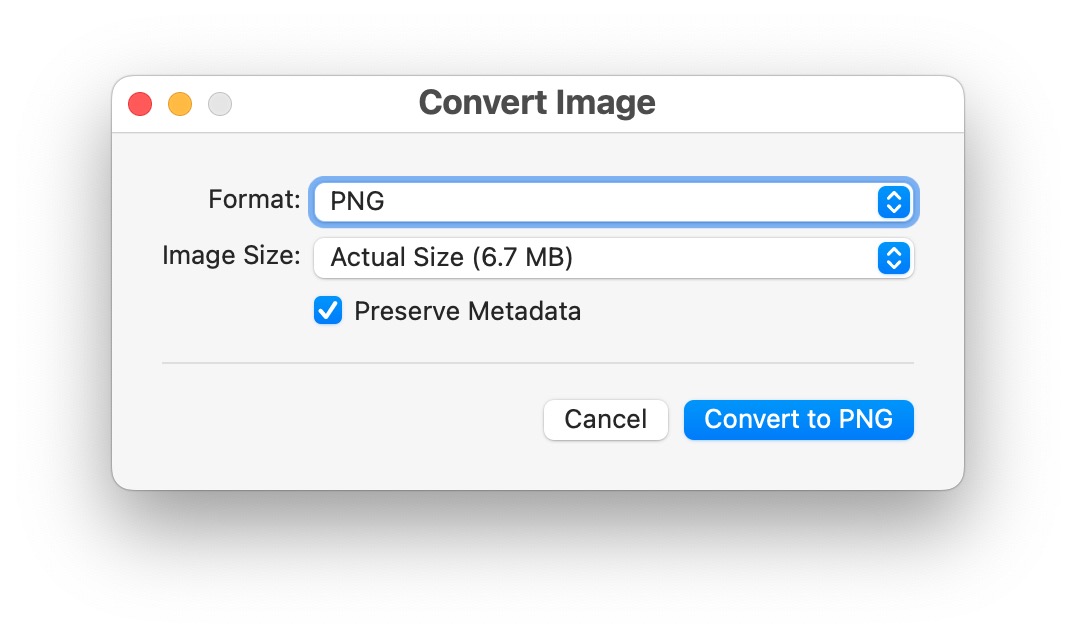
Go to OSX Daily to read Convert Images on Mac Quickly from Finder MacOS offers a super simple and fast way to convert images, directly from the Finder on the Mac. Thanks to the handy Quick Actions feature, Mac users are able to convert any images from anywhere in the Finder, with just a few…
-
Show All Open Files, Directories, Sockets, Pipes, Devices, by All Running Processes on Mac with Sloth
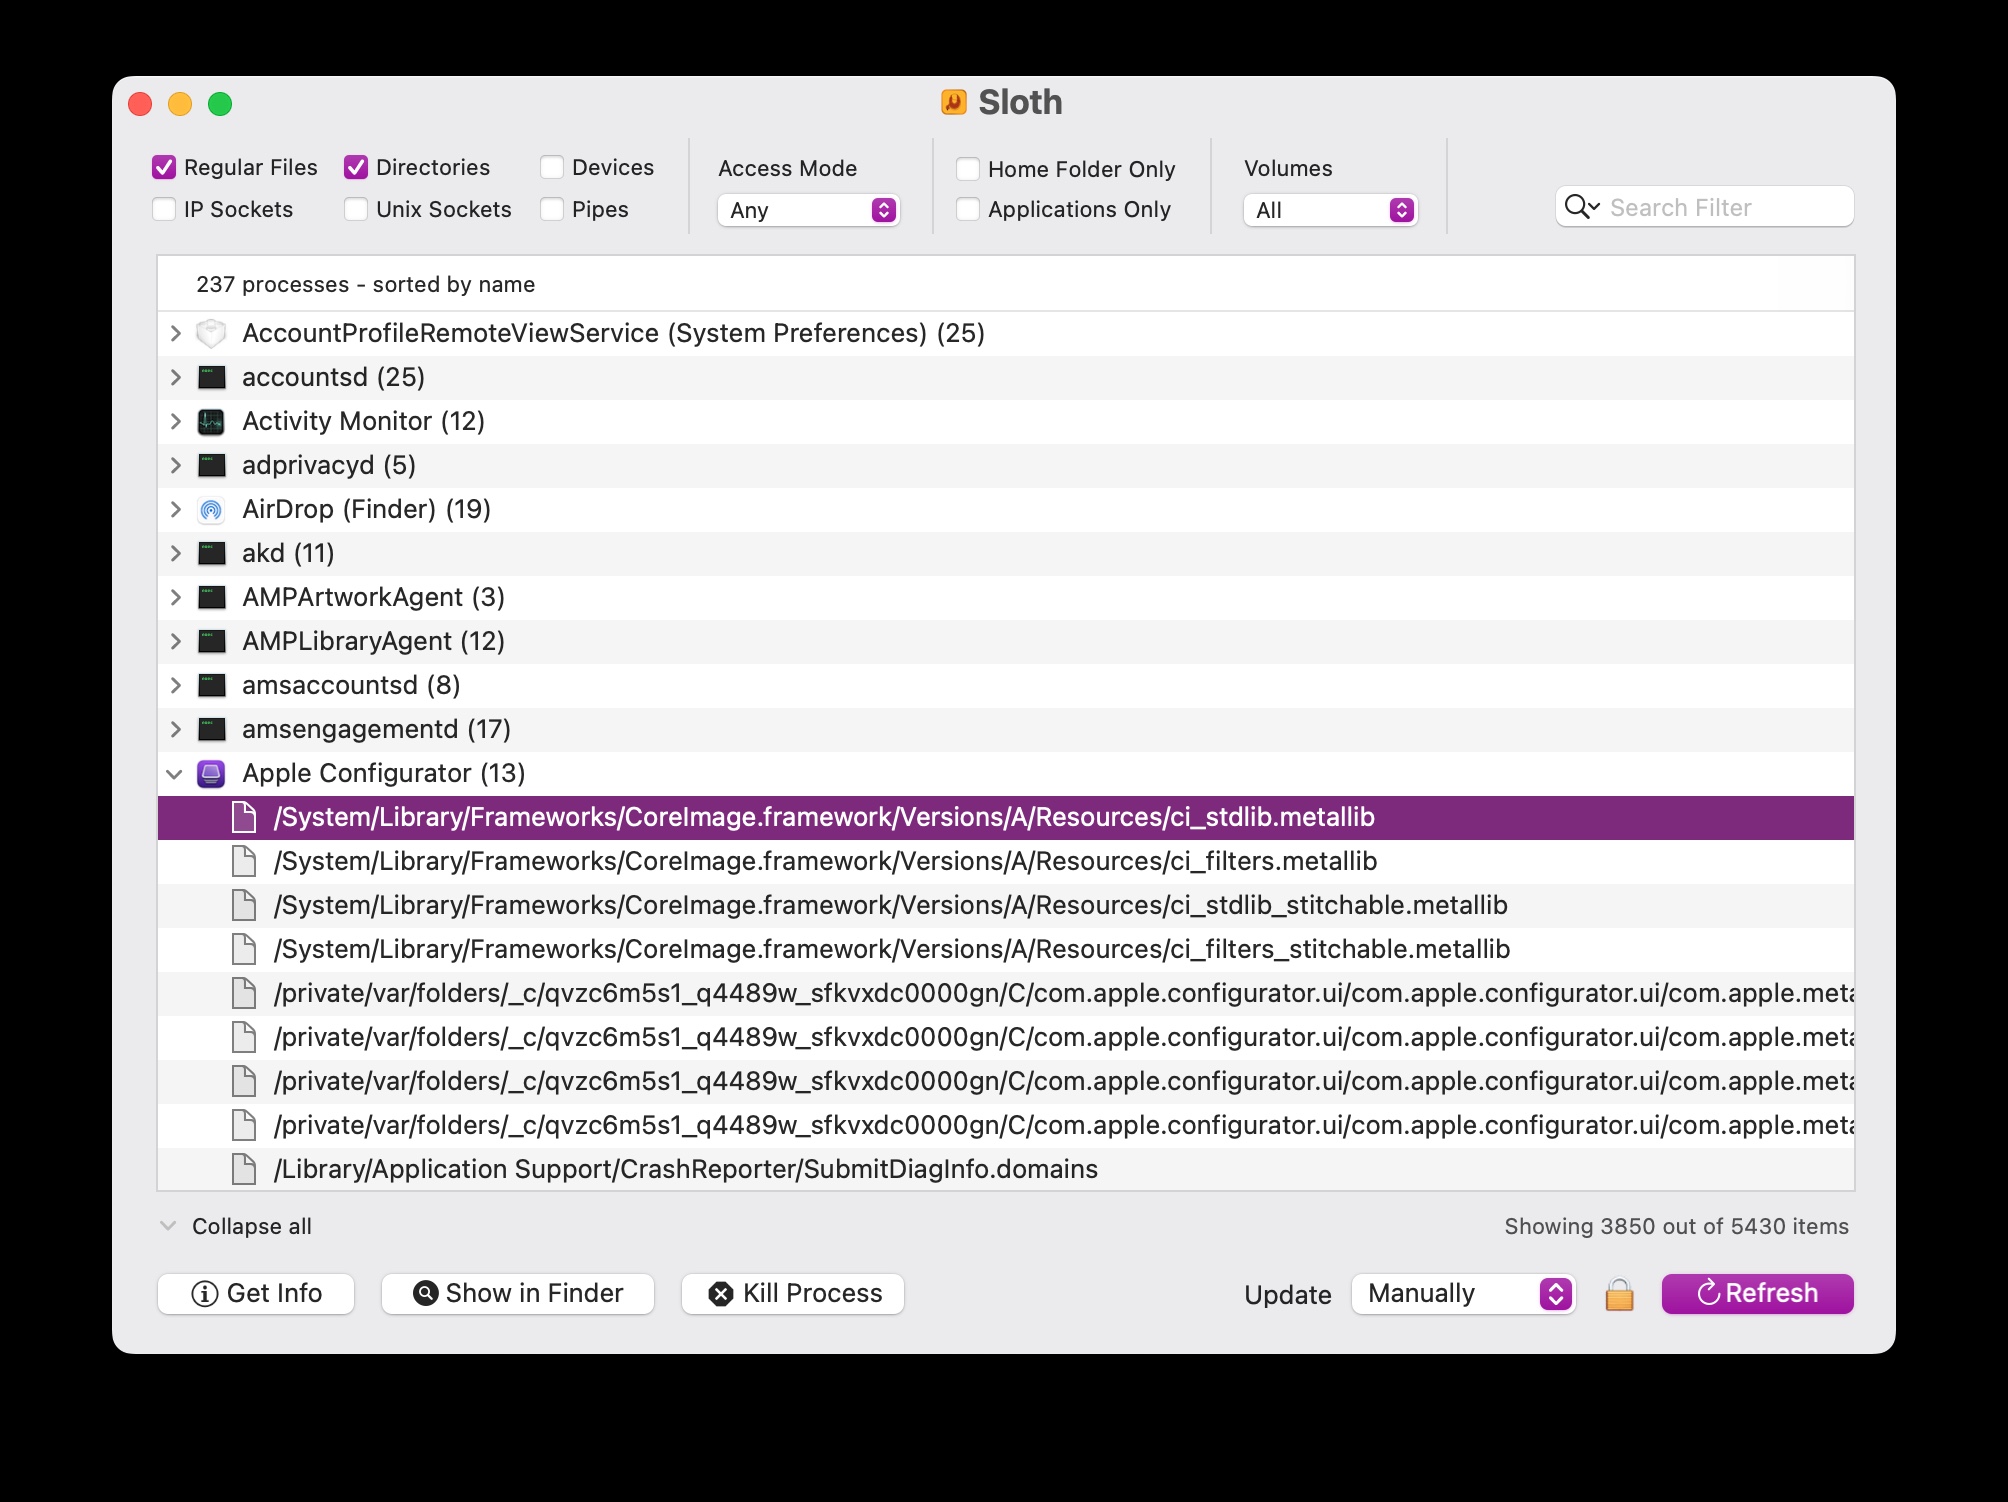
Go to OSX Daily to read Show All Open Files, Directories, Sockets, Pipes, Devices, by All Running Processes on Mac with Sloth If you’re an advanced Mac user and you’d like to easily see all running processes and which files, directories, sockets, and pipes are open by those processes, the free Sloth tool may be…
-
Adjust External Display Brightness on Mac with MonitorControl
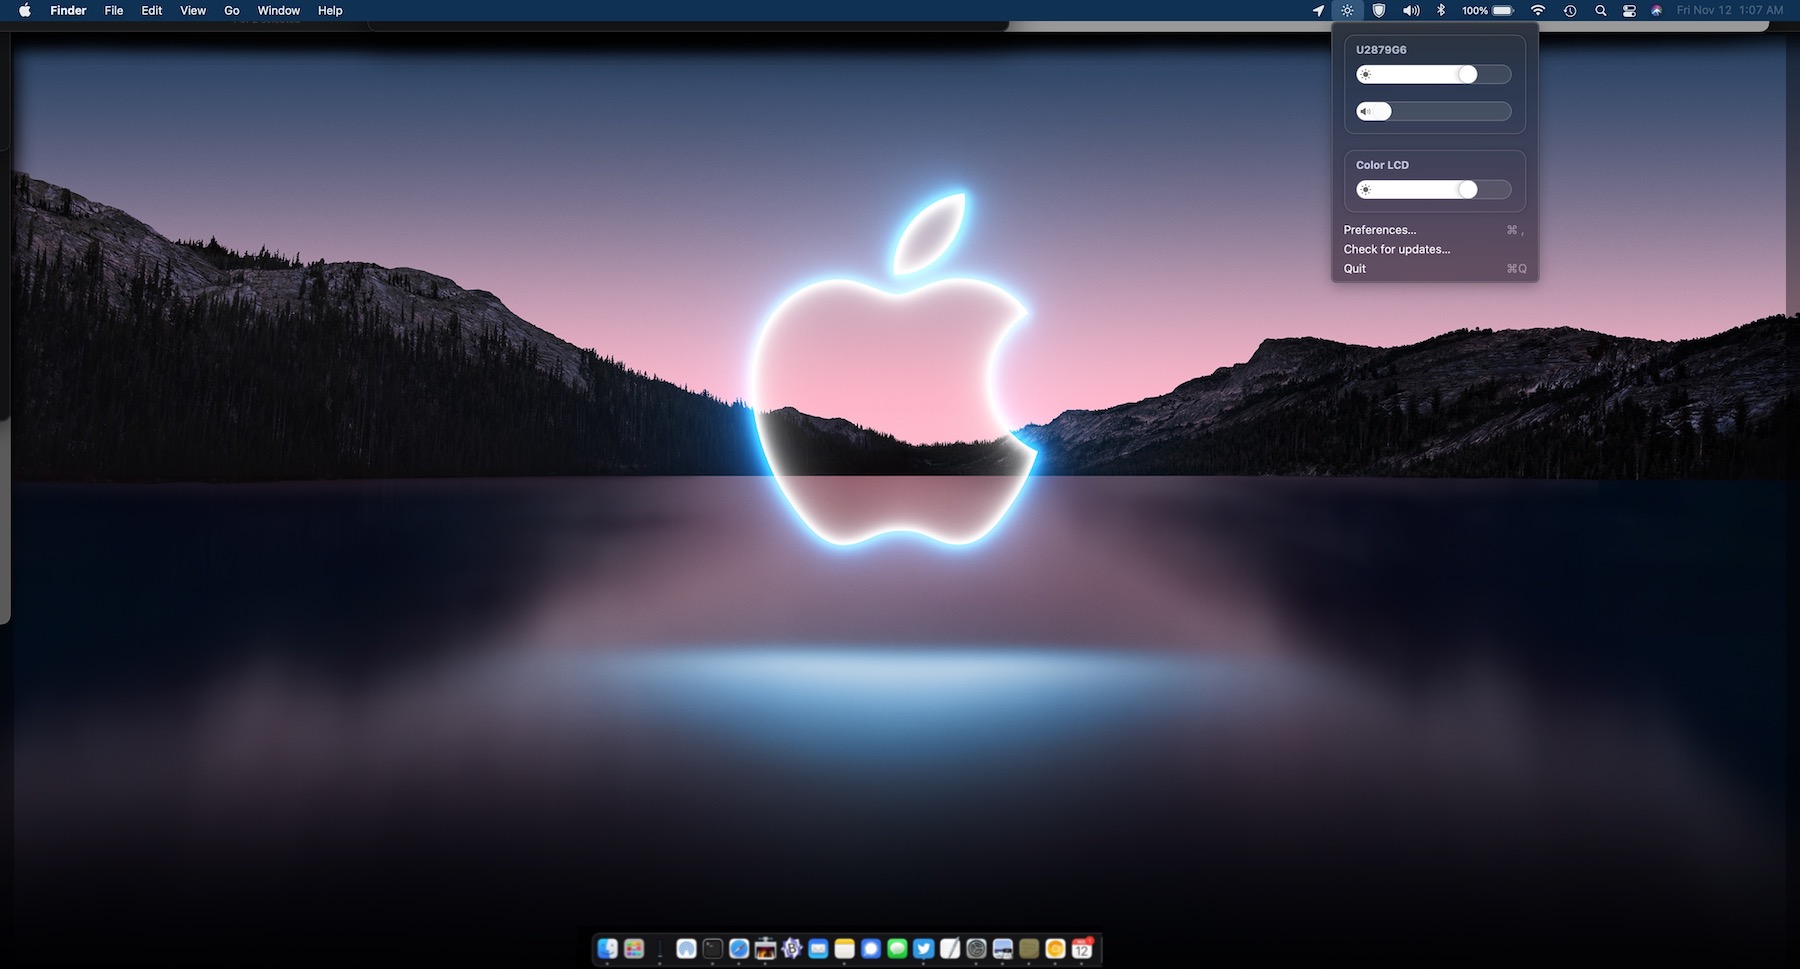
Go to OSX Daily to read Adjust External Display Brightness on Mac with MonitorControl Have you ever wished the keyboard brightness adjustment keys on a Mac could control the brightness of your external displays? Ever wanted to change the brightness on a secondary display, right from your Mac? For users with multi-monitor setups, controlling brightness…
-
How to Change a File Type’s Default App in MacOS
Go to OSX Daily to read How to Change a File Type’s Default App in MacOS Do you want to change the default application that your Mac uses to open a specific file type or file format? You’ll be excited to know that there are multiple ways to go about this and it’s pretty easy…
-
Open Terminal by Keyboard Shortcut on Mac
Go to OSX Daily to read Open Terminal by Keyboard Shortcut on Mac Ever wished you could instantly launch the Terminal app on Mac by keyboard shortcut? Instead of relying on Spotlight and typing Terminal and hitting return, which works great and has for many years, you can actually create your own custom keyboard shortcut…
-
How to Open Activity Monitor by Keyboard Shortcut on Mac
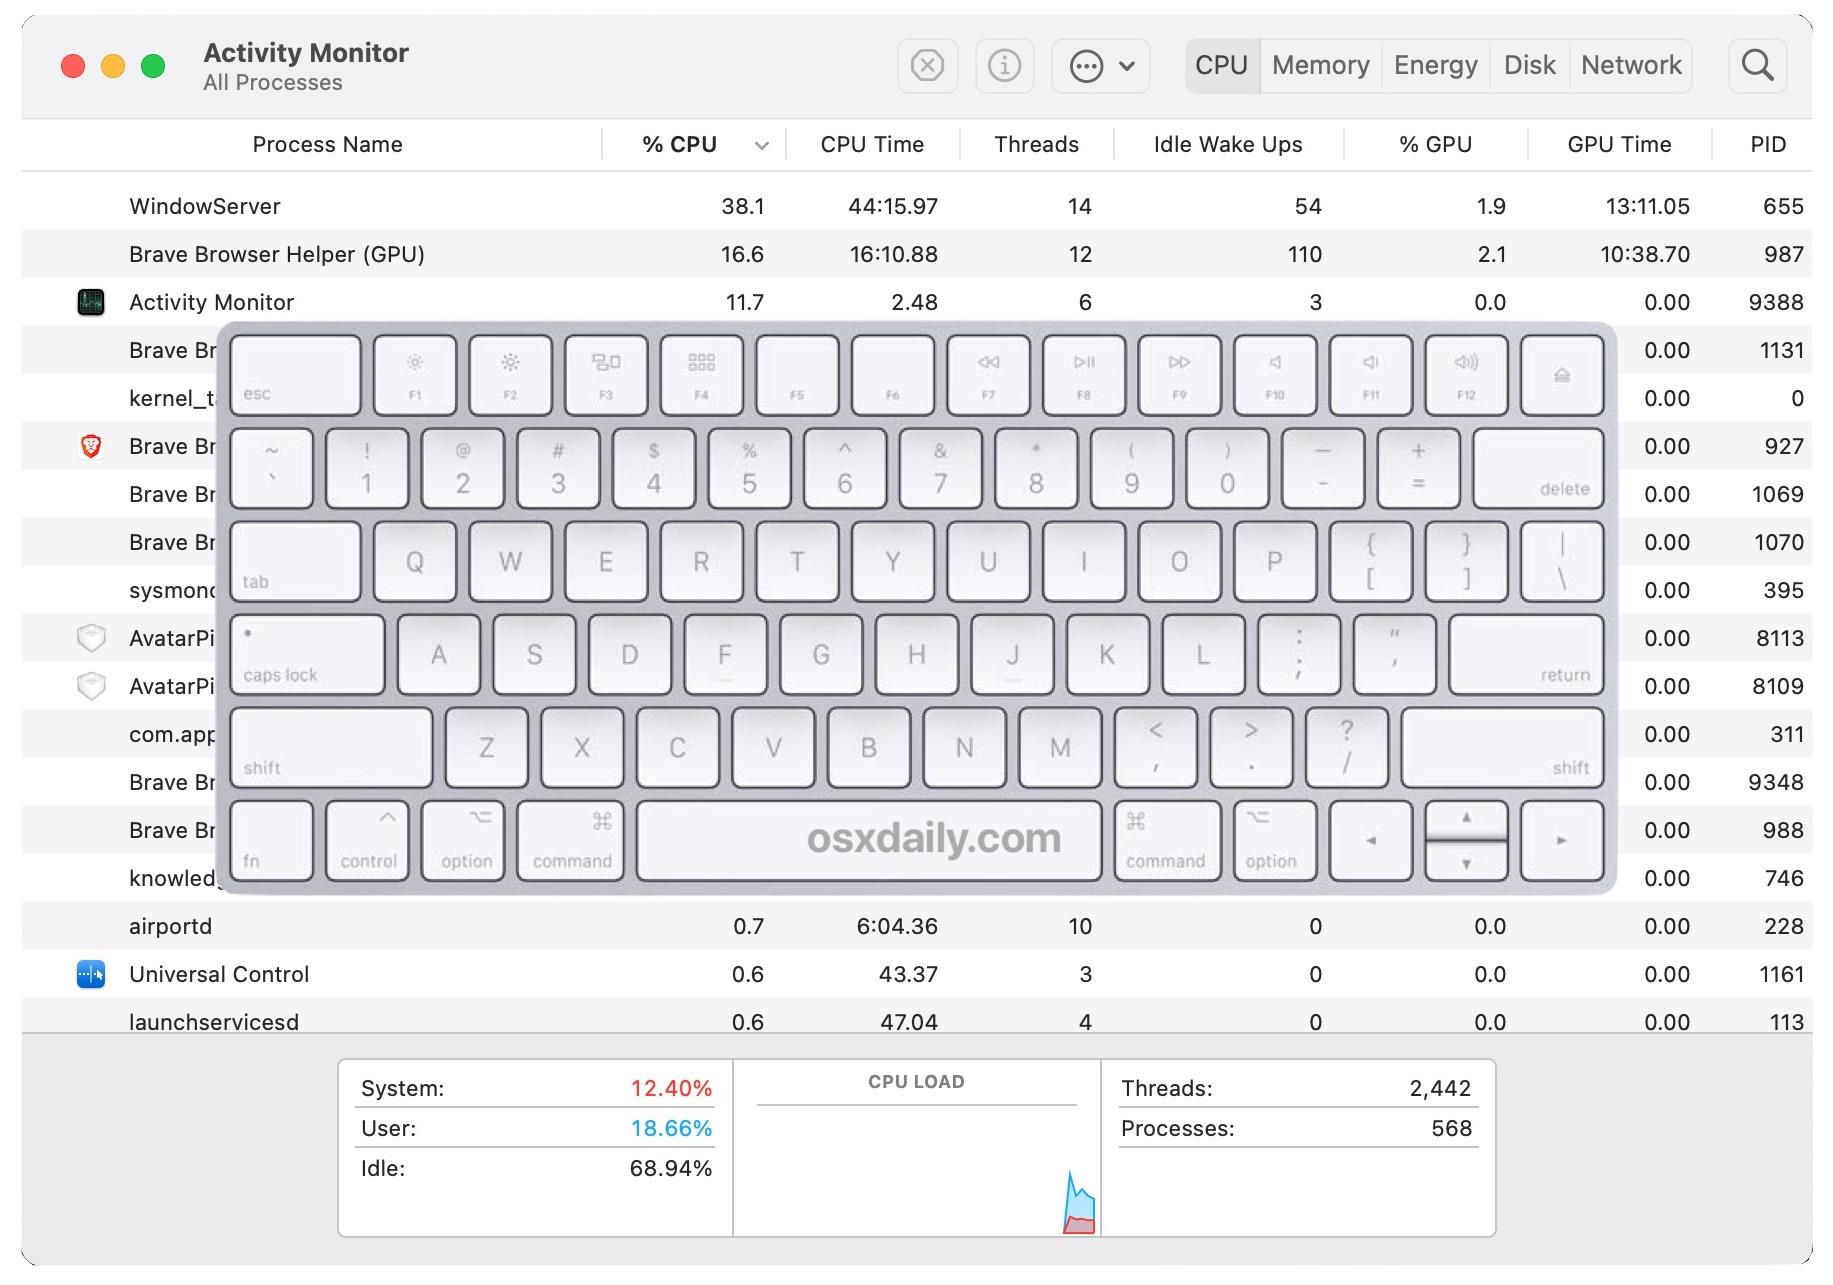
Go to OSX Daily to read How to Open Activity Monitor by Keyboard Shortcut on Mac Many Mac users rely on Activity Monitor to quickly terminate processes and monitor system resources on their Macs. Creating a keyboard shortcut for quick access to Activity Monitor can be a beneficial trick to more easily access the task…