-
Experiment & Explore with Fedora Linux on Mac with UTM
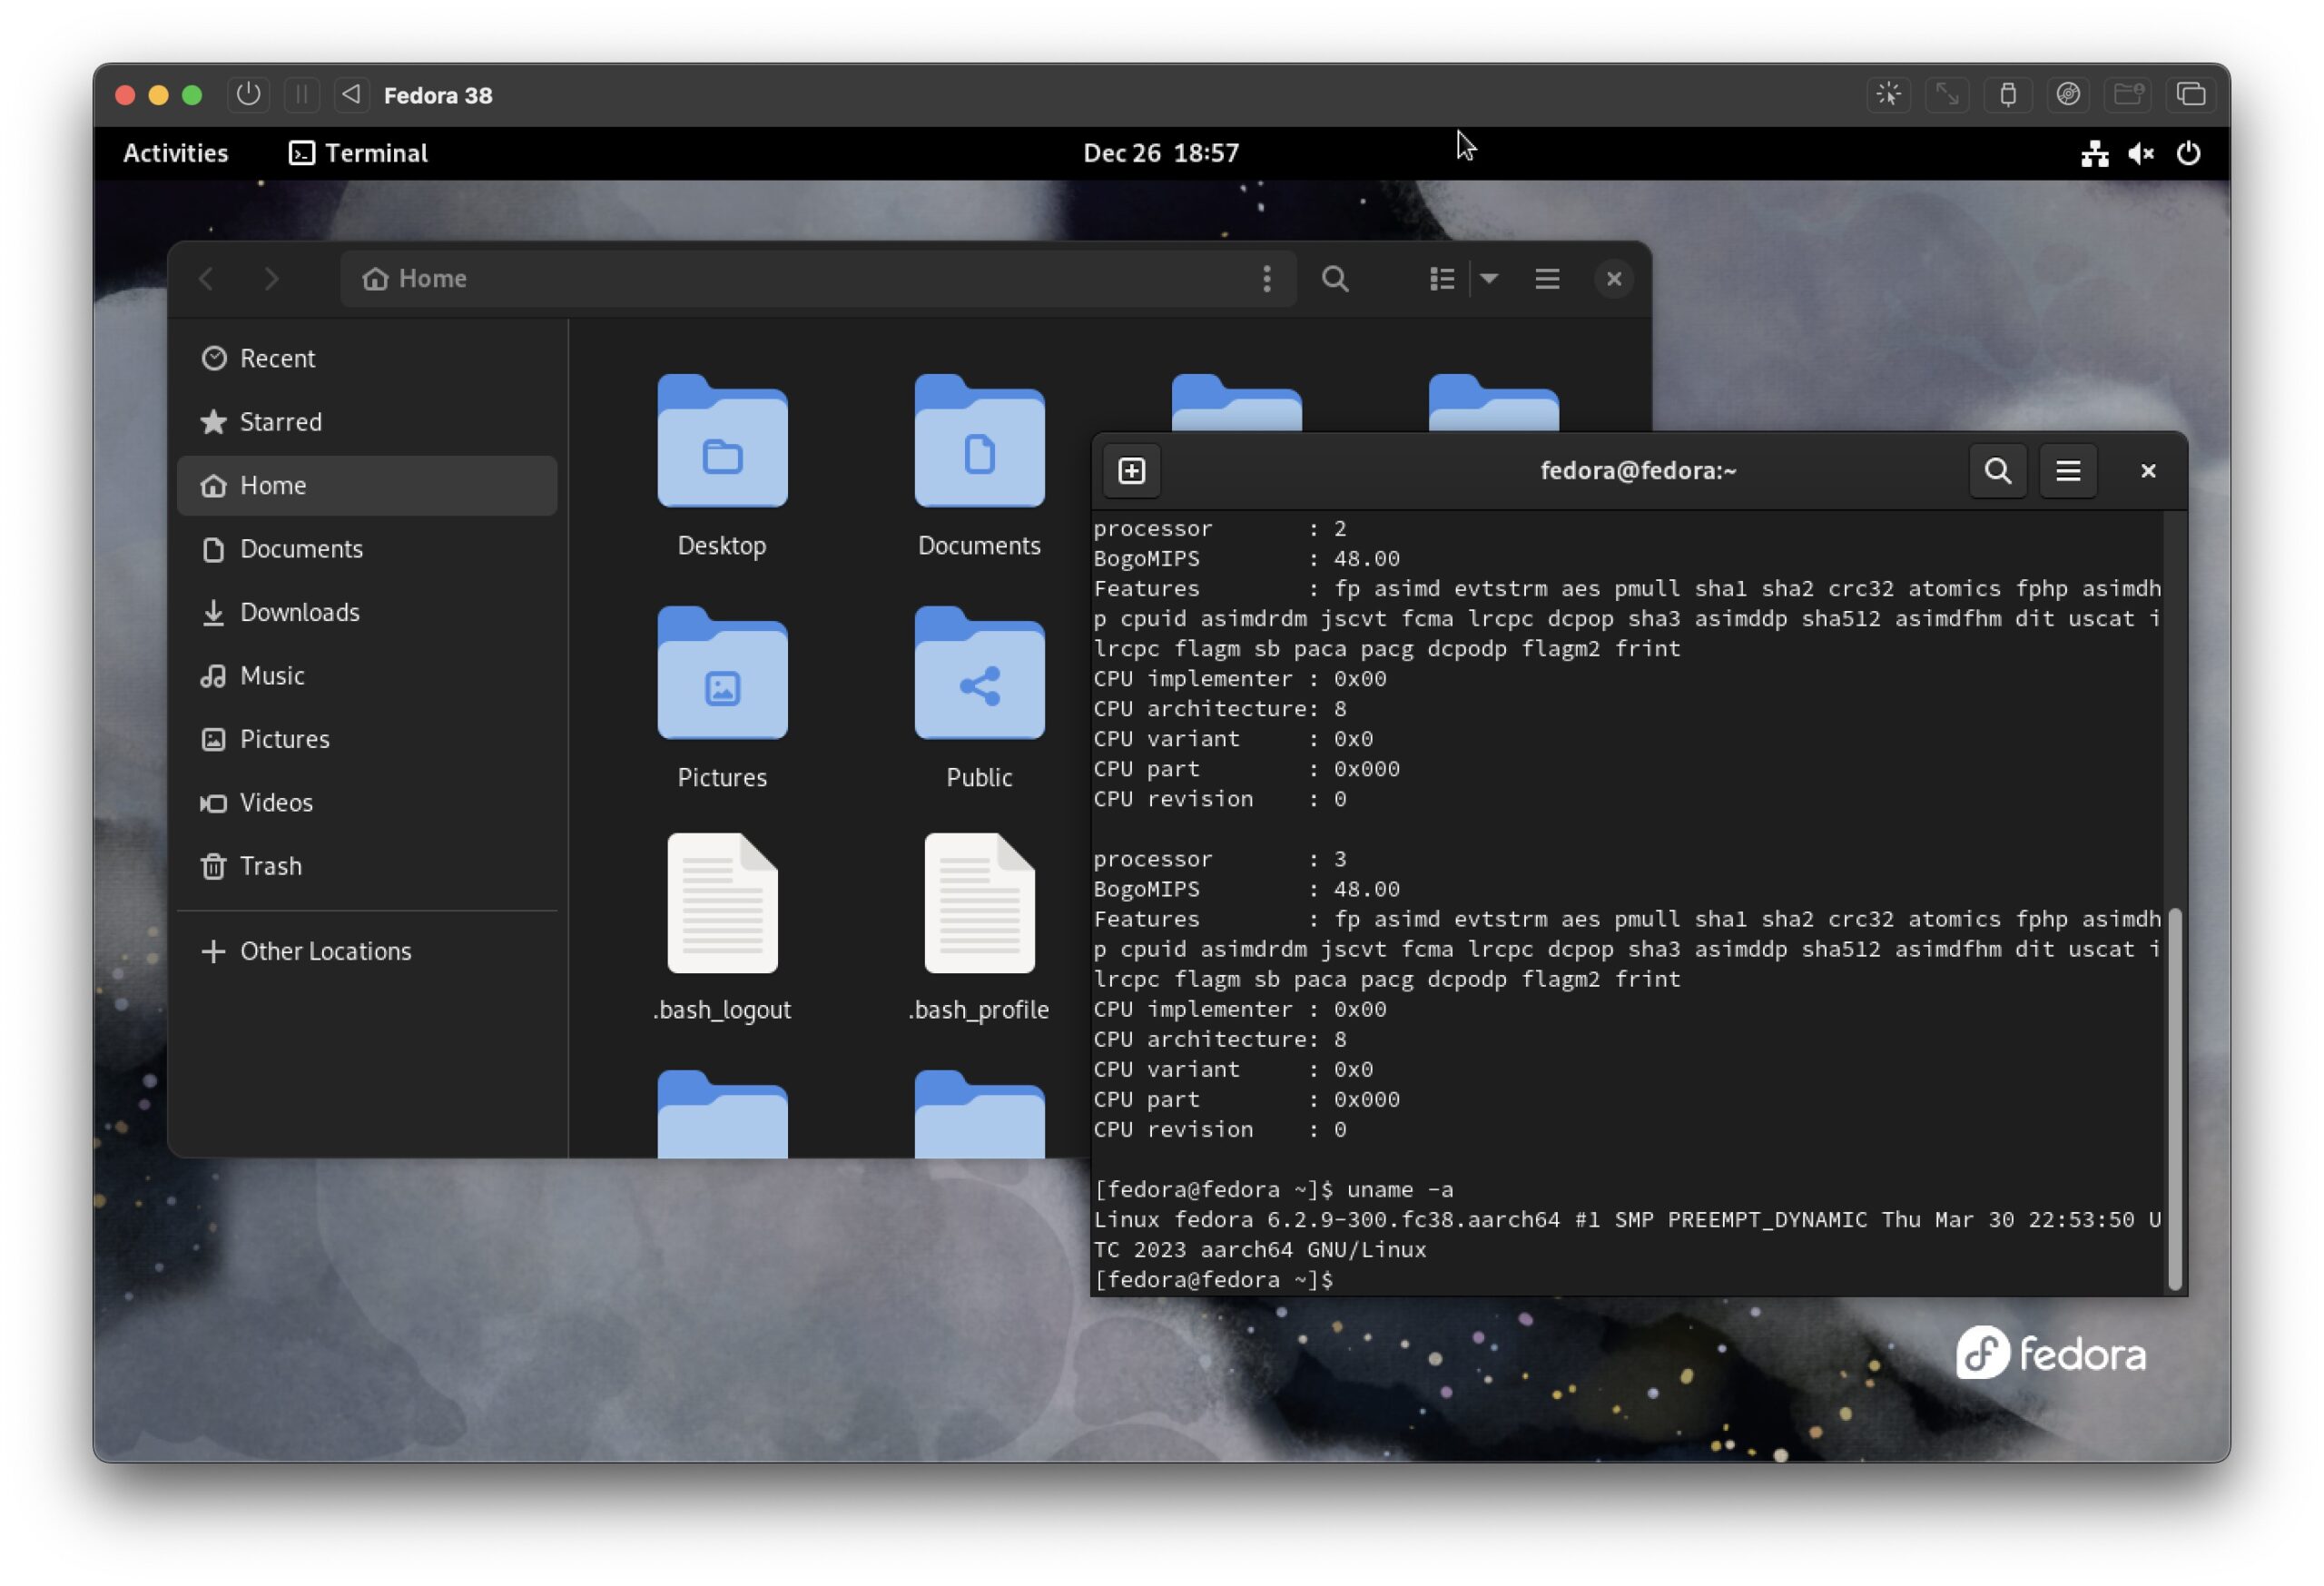
Go to OSX Daily to read Experiment & Explore with Fedora Linux on Mac with UTM Running Linux on a Mac can be a big ordeal, but not with virtualization. By using UTM, you can run Linux in a virtual machine atop MacOS, contained entirely within an app. This allows you to explore and experiment…
-
How to grep Match Two Strings in One Line, or Anywhere in File or Command Output
Go to OSX Daily to read How to grep Match Two Strings in One Line, or Anywhere in File or Command Output The command line grep tool is incredibly powerful and useful for searching for matches in files, sorting text and data, finding strings in large files, and so much more. One common situation many…
-
Run MacOS VM’s in Docker on Windows & Linux with Docker-OSX
Go to OSX Daily to read Run MacOS VM’s in Docker on Windows & Linux with Docker-OSX If you use Docker and virtual machines often, you may be happy to know that you can run MacOS VM’s in Docker, at near native performance atop Windows or Linux, thanks to an open source project called Docker-OSX.…
-
How to Clear DNS Cache in Chrome Browser
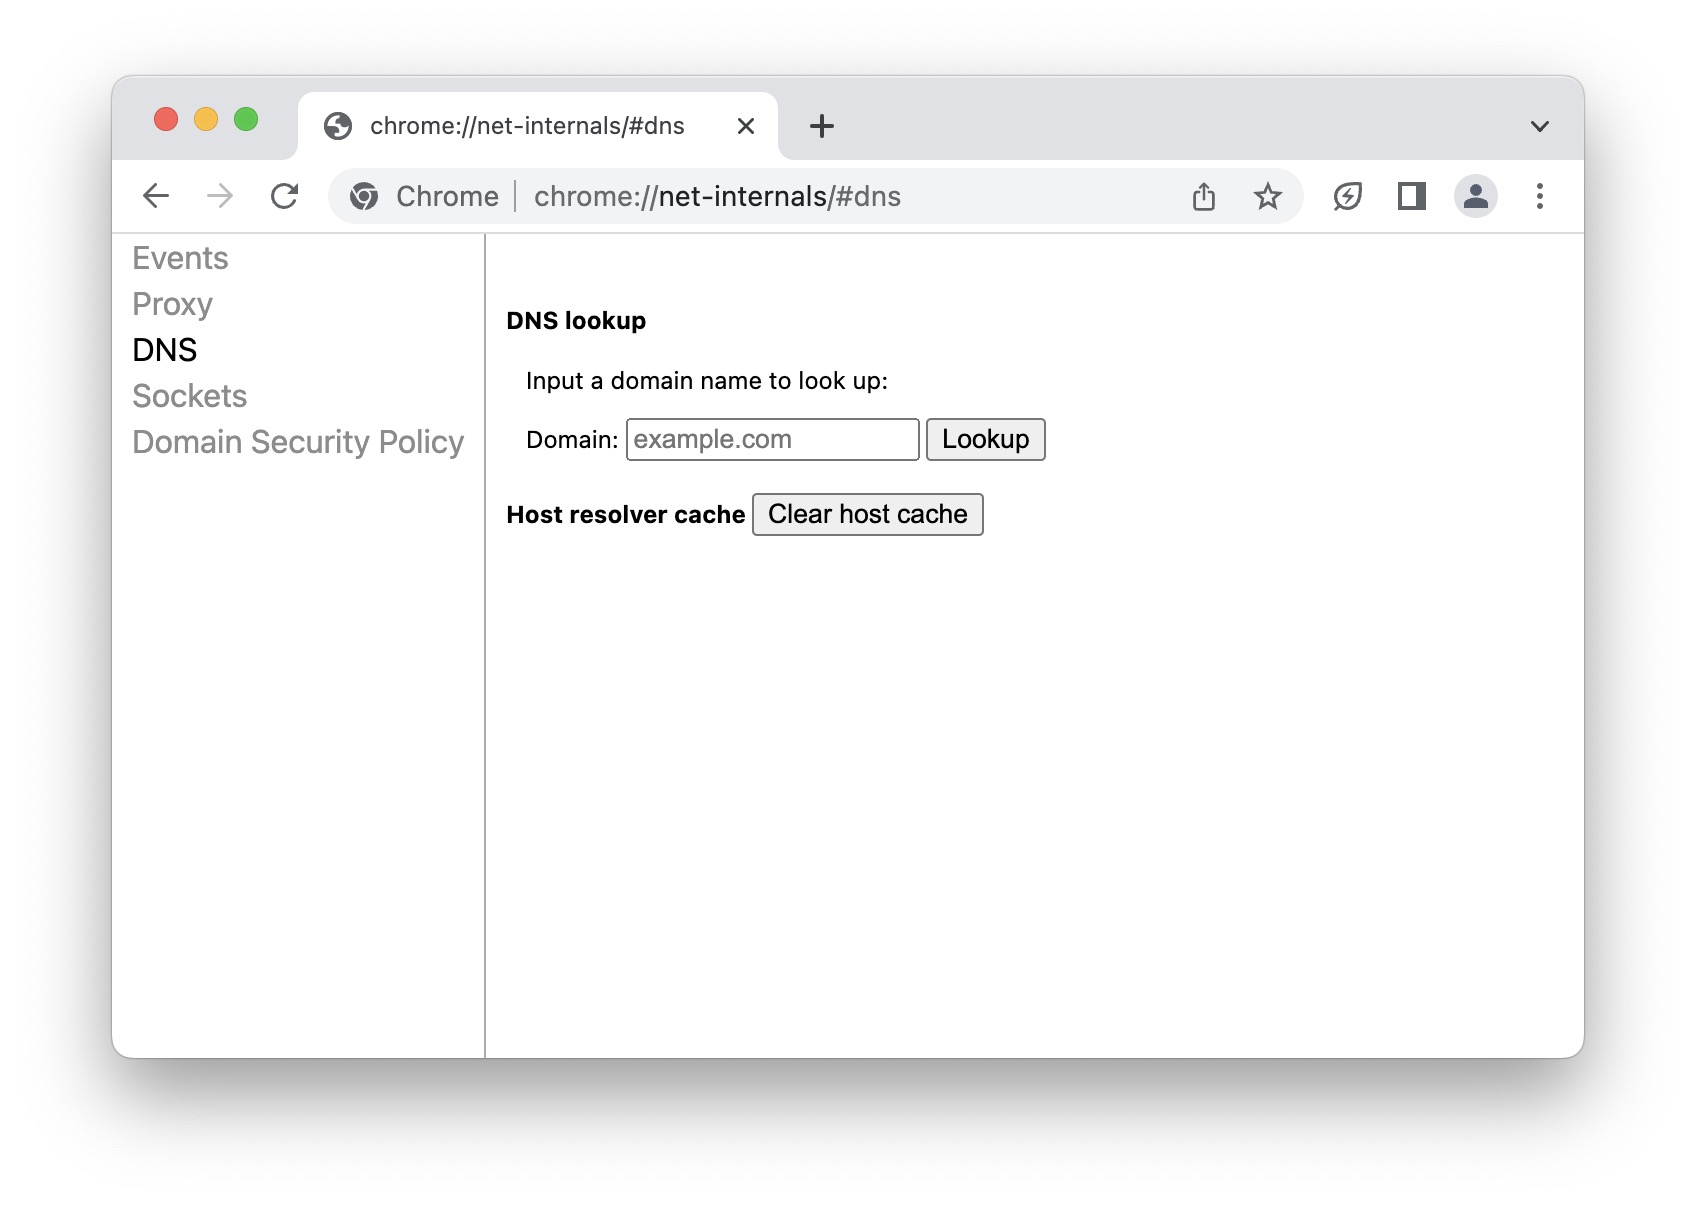
Go to OSX Daily to read How to Clear DNS Cache in Chrome Browser If you use the Chrome browser to develop for the web, you may be interested in knowing that you can clear the browsers DNS cache directly in Chrome. This is a separate process that is limited to Chrome, and it does…
-
Capture Full Size Webpage Scrolling Screenshots in Chrome
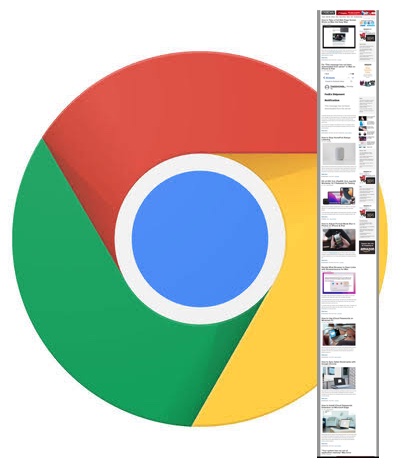
Go to OSX Daily to read Capture Full Size Webpage Scrolling Screenshots in Chrome The Google Chrome browser offers two ways to capture full size webpage screenshots. This can be necessary or useful for many web workers, whether they’re developers, designers, editors, managers, writers, analysts, or just about any other possible web-based gig. The approaches…
-
Can’t Wait for Universal Control? Share Keyboard & Mouse Across Macs, PCs Now with Barrier
Go to OSX Daily to read Can’t Wait for Universal Control? Share Keyboard & Mouse Across Macs, PCs Now with Barrier Longing for Universal Control? Want to use a single keyboard and mouse across multiple Macs, or even PCs? You can do that with Barrier, a free virtual KVM switch that allows you to share…
-
How to Uninstall Oh My Zsh on Mac
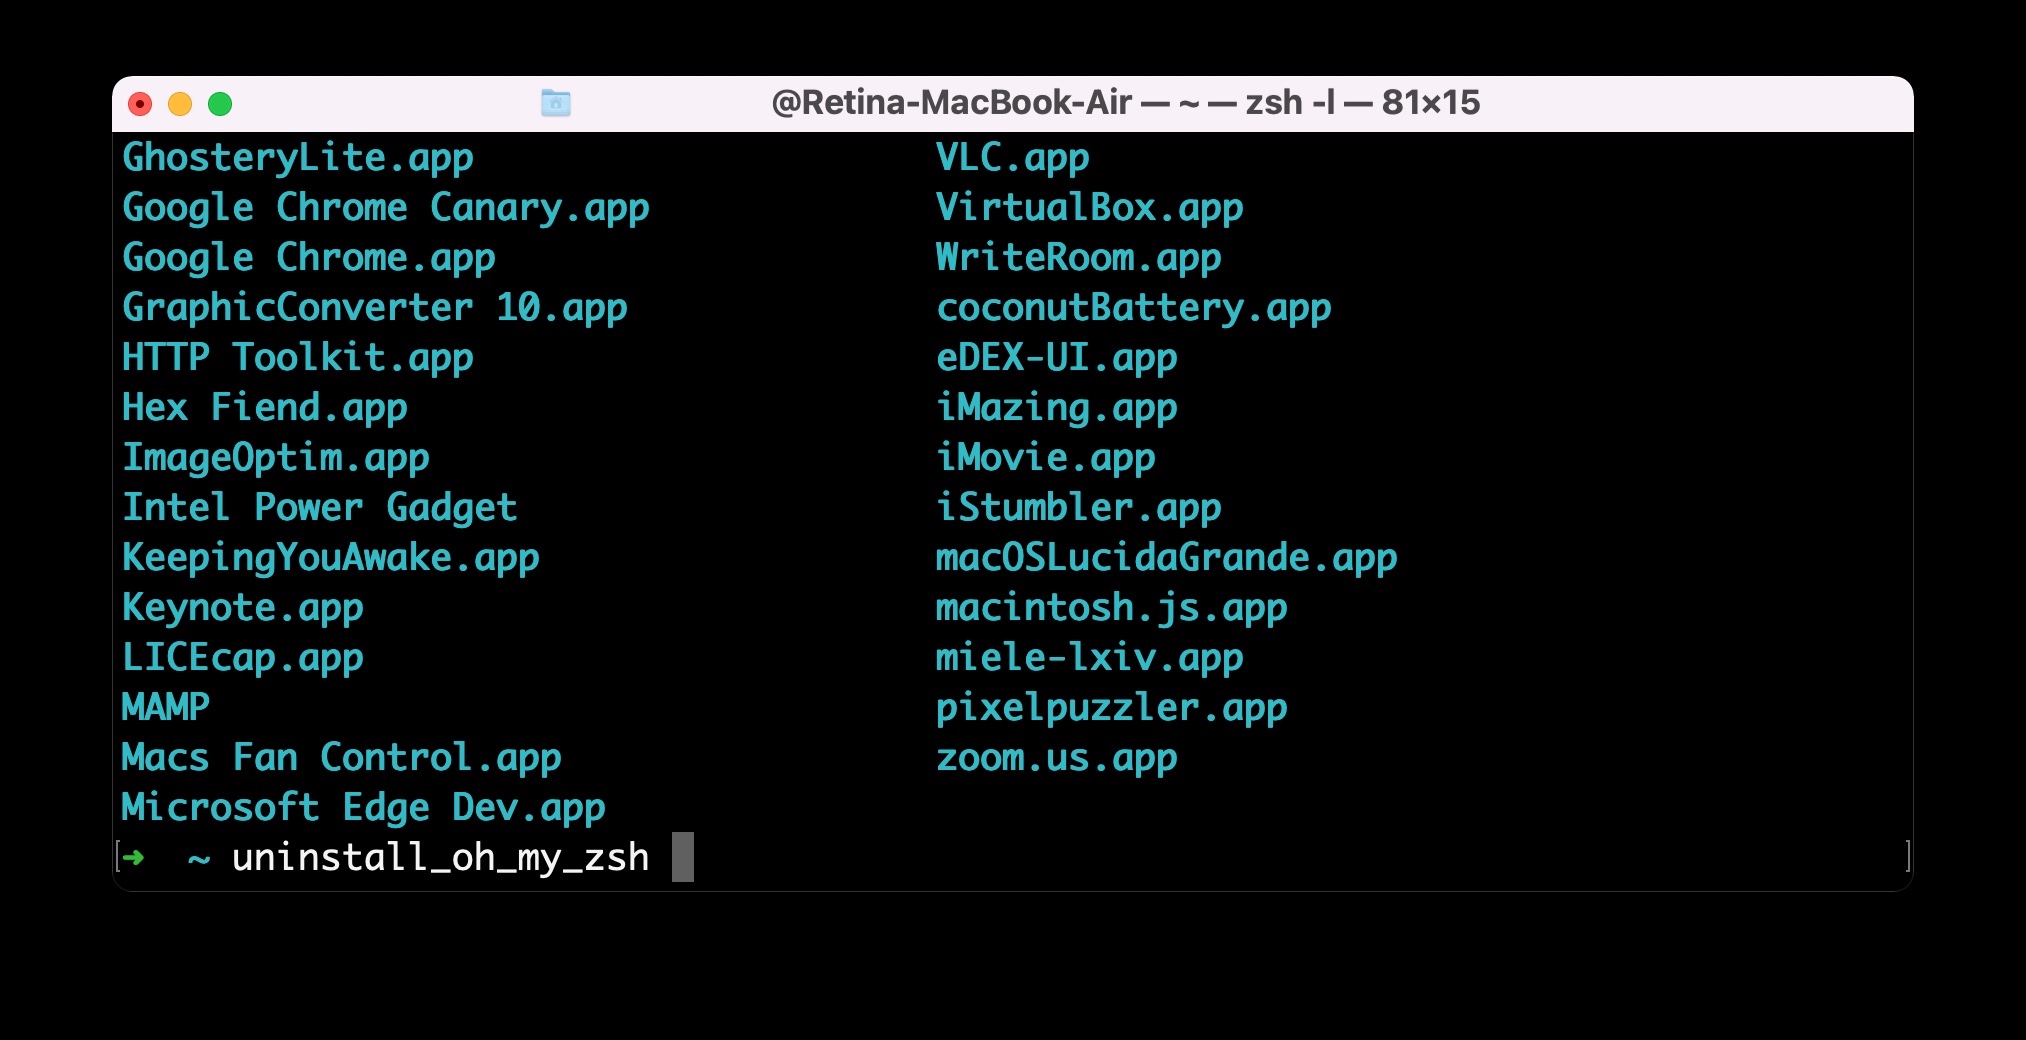
Go to OSX Daily to read How to Uninstall Oh My Zsh on Mac If you had previously installed Oh My Zsh on a Mac and now have decided you no longer want it on the computer, you can remove and uninstall Oh My Zsh with a very simple command string. Uninstalling Oh My Zsh…
-
How to Turn Off Tab Hover Card Previews in Chrome
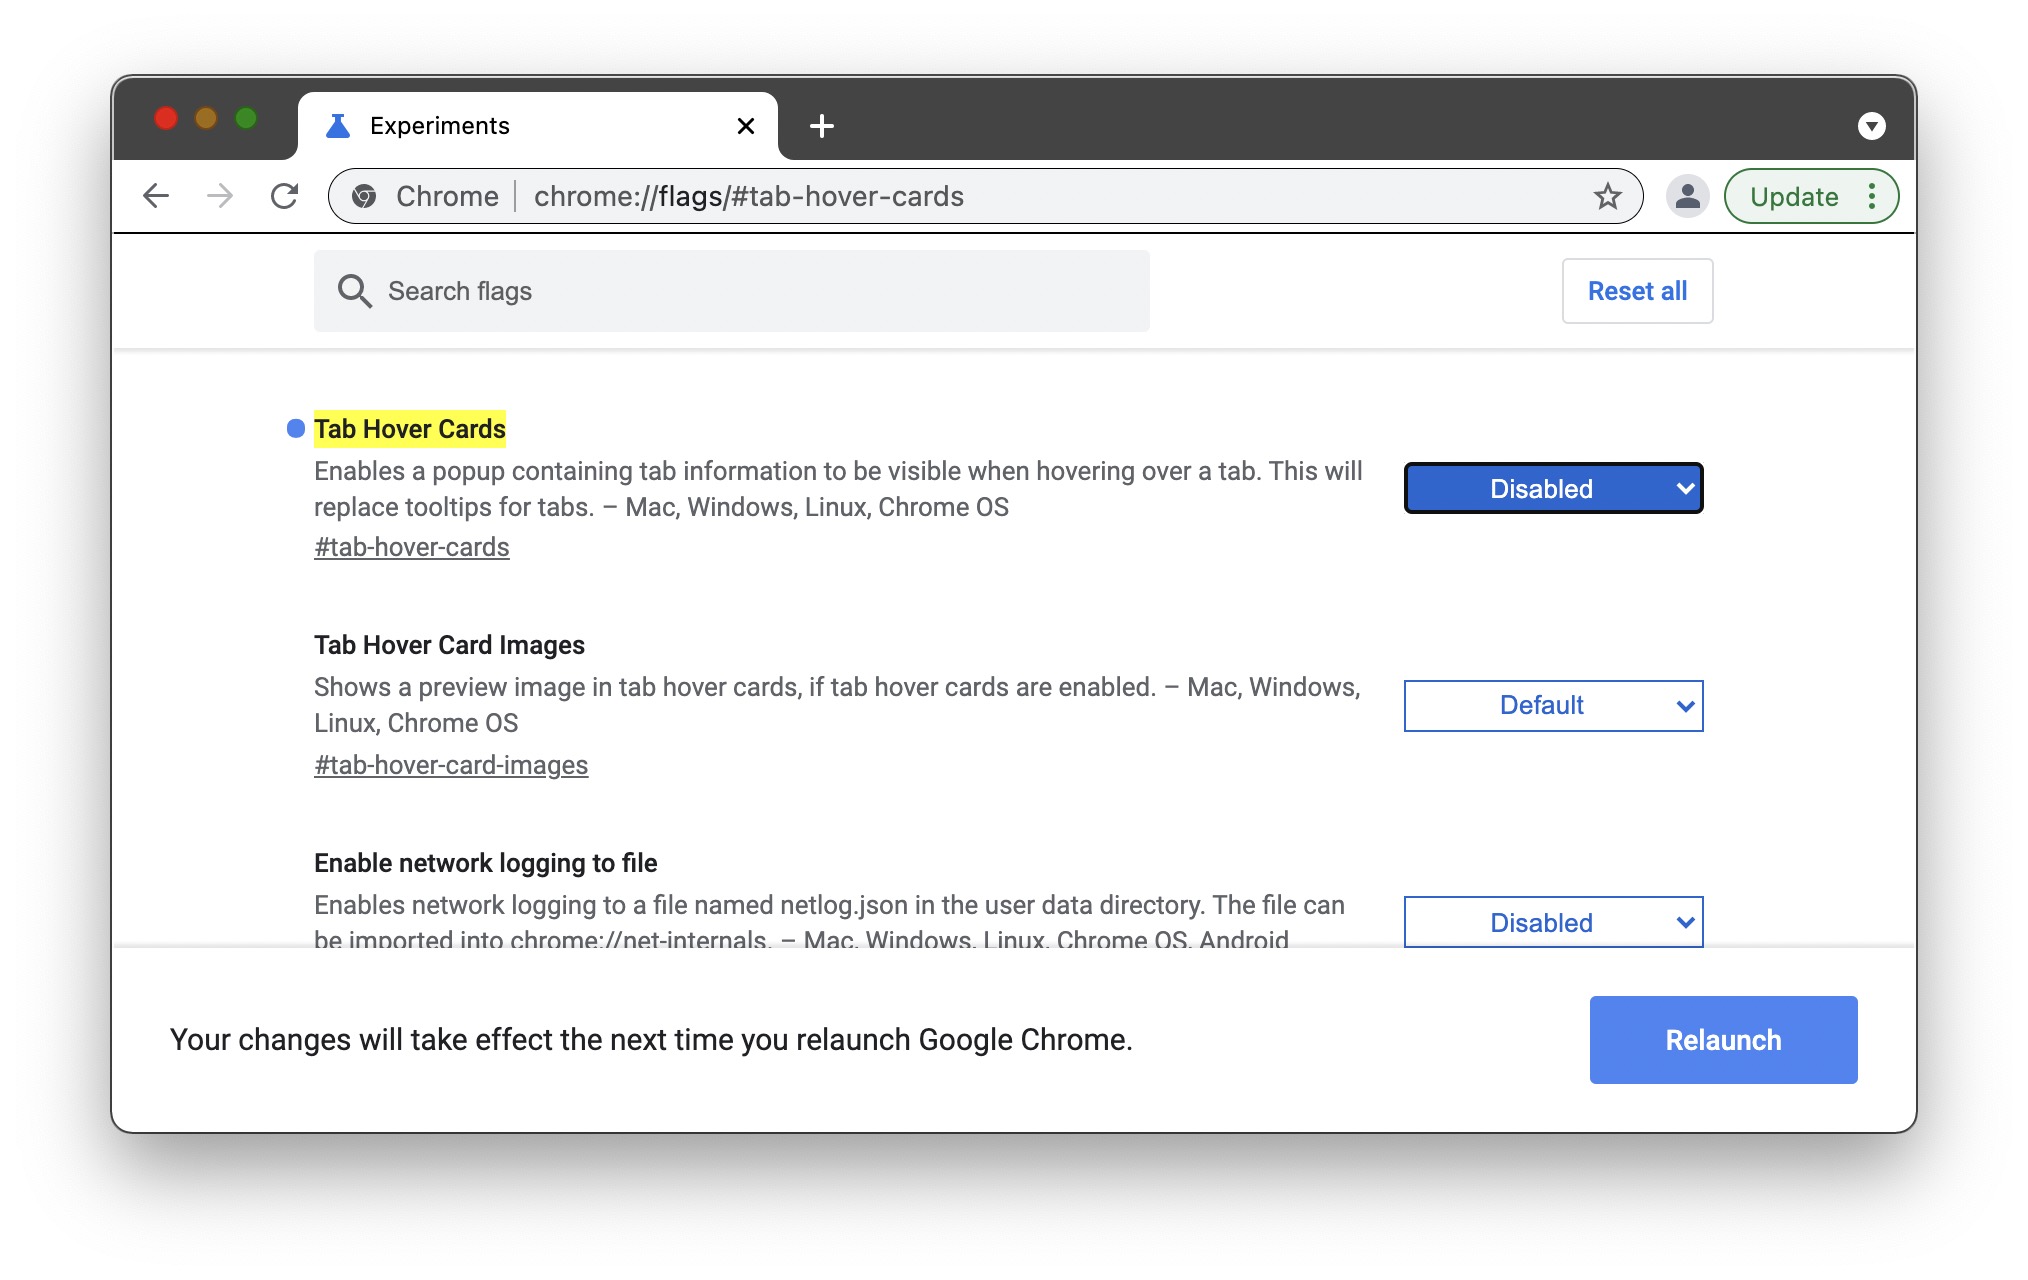
Go to OSX Daily to read How to Turn Off Tab Hover Card Previews in Chrome Chrome users may be interested in disabling the tab hover previews that pop-up as you hover the cursor over browser tabs. This feature can be nice for some, but distracting for others. We’ll show you how to disable those…
-
How to Copy at Command Line Showing Progress & Speed Indicator
Go to OSX Daily to read How to Copy at Command Line Showing Progress & Speed Indicator Ever wished you could see the transfer progress and speed of copying files at the command line? If you’re familiar with the command line of Mac OS, Linux, or any other Unix operating system, you likely use the…