-
How to Translate Foreign Languages Directly From Your iPhone Camera
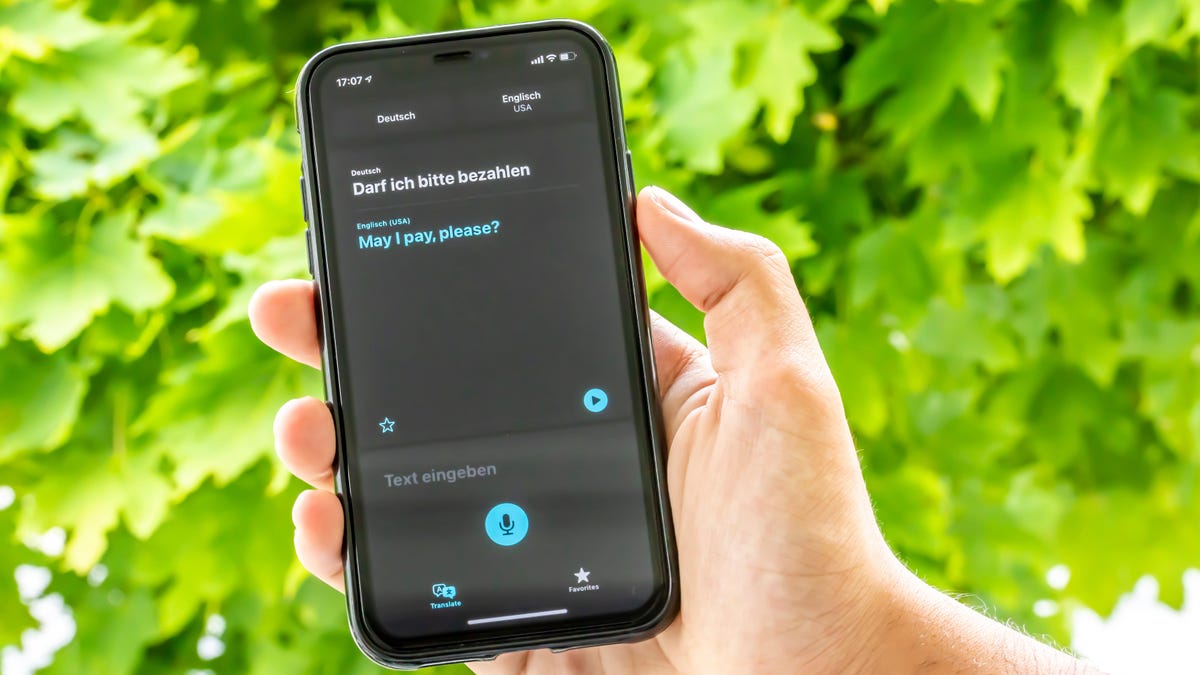
Read full article: at LifeHacker Every year, Apple adds a few new features that make third-party apps redundant. It’s so common that there’s a term for it—Sherlocking—that goes back to the early 2000s when Apple added a native search feature that made the Sherlock app useless. Read more… Read full article: at LifeHacker
-
How to Set Different Wallpaper for Home Screen & Lock Screen on iOS 16
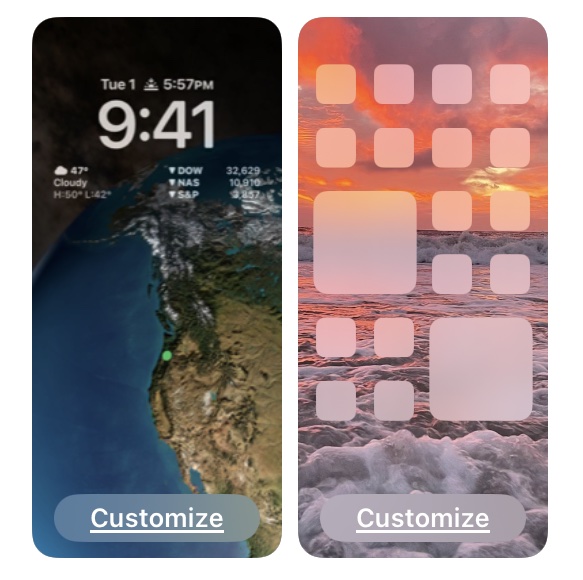
Go to OSX Daily to read How to Set Different Wallpaper for Home Screen & Lock Screen on iOS 16 Want to set a different wallpaper for iPhone Home Screen than from the Lock Screen in iOS 16? You can do that, though how you set different wallpapers for the Home Screen and Lock Screen…
-
How to Turn Off Focus Mode on iPhone
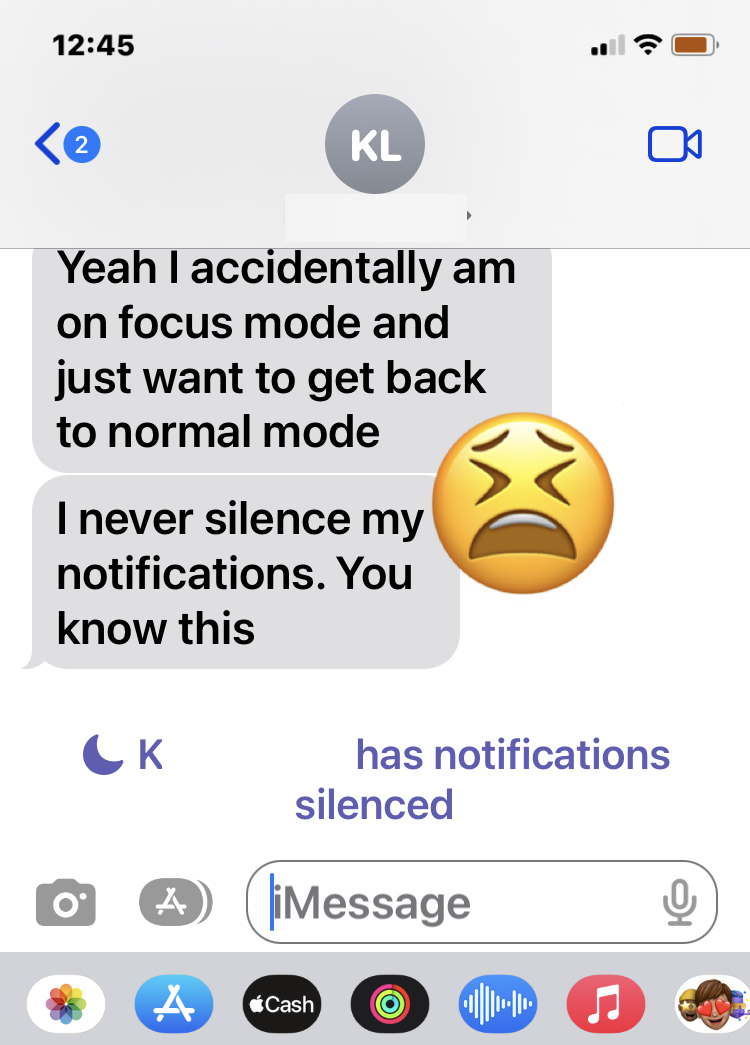
Go to OSX Daily to read How to Turn Off Focus Mode on iPhone Focus Mode is a feature that was designed to allow iPhone users to focus on tasks by muting and hiding notifications, messages, phone calls, and other alerts on their devices. The Focus feature used to be very simple and called Do…
-
How to View Apple Card Number & Expiration
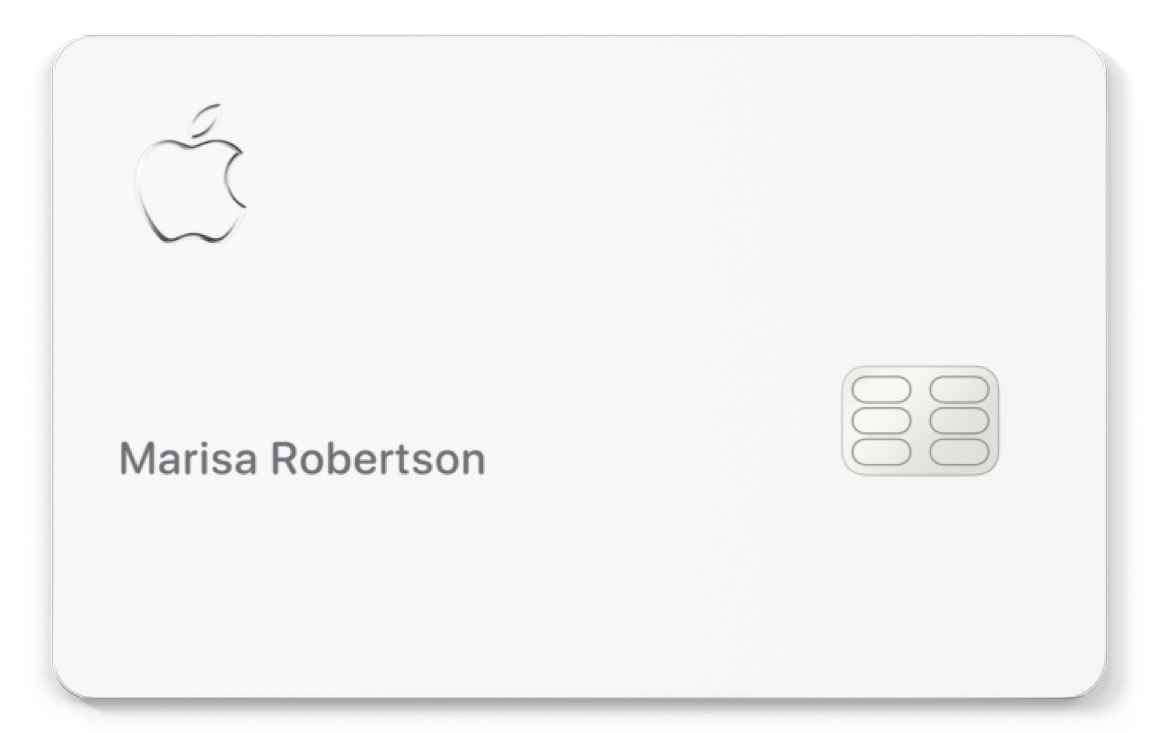
Go to OSX Daily to read How to View Apple Card Number & Expiration If you have an Apple Card, you’ve undoubtedly noticed the card itself is very minimalist, and it doesn’t show your credit card number, expiration, security code, or really much of anything at all on the metal card itself. Instead, if you…
-
iPhone 14 Won’t Turn On? Here’s the Fix
Go to OSX Daily to read iPhone 14 Won’t Turn On? Here’s the Fix Some users who are new to the iPhone 14 and iPhone 14 Pro series are finding they can’t turn on their device, or that iPhone 14 won’t turn on when they press the Power button on the side of the device.…
-
Fix 5G Not Working on iPhone
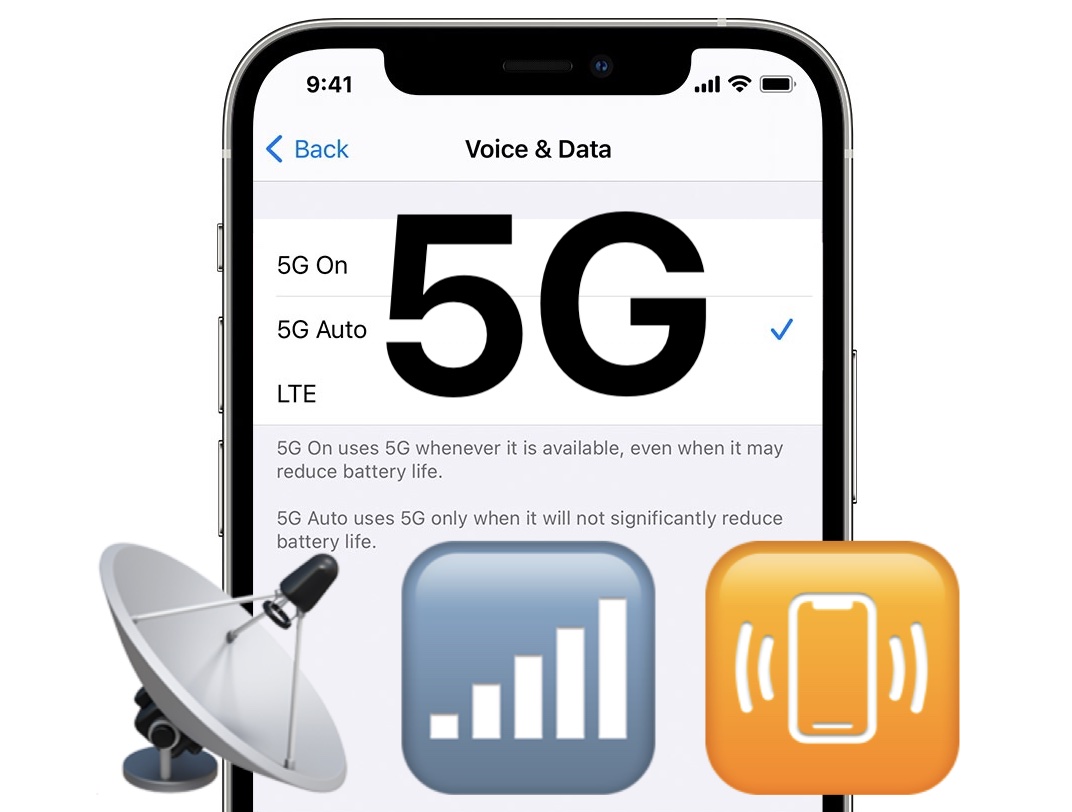
Go to OSX Daily to read Fix 5G Not Working on iPhone Got an iPhone with 5G networking capabilities and find that 5G is not working? 5G offers ultrafast wireless networking, but that’s not too great if you can’t connect to it. If you’re having issues with connecting to 5G networks on your iPhone, read…
-
How to Never Lose a Safari Tab on Your iPhone Again
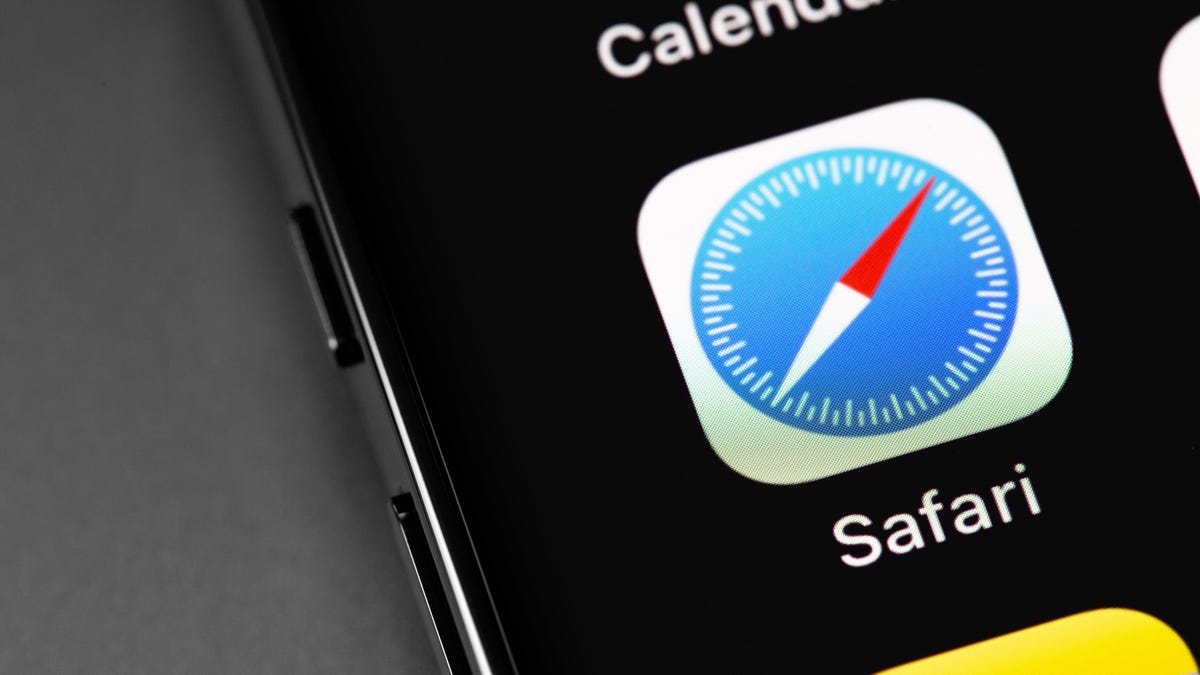
Read full article: at LifeHacker It only took Apple a decade or so, but you can finally pin tabs in Safari on your iPhone and iPad. The feature was worth the wait: When you close all tabs, it won’t clear the pinned tabs. By effect, you can turn your frequently visited websites into static web…
-
How to Get Old Notifications Style Back on iOS 16 Lock Screen
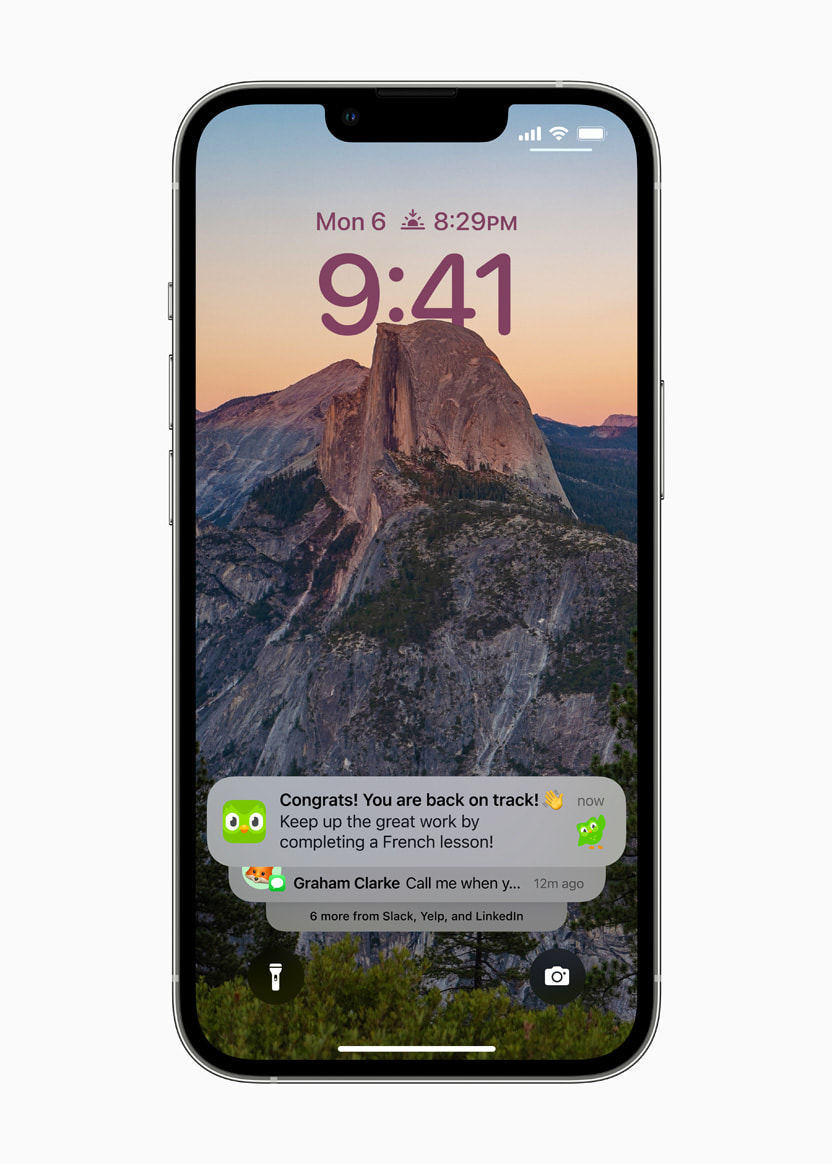
Go to OSX Daily to read How to Get Old Notifications Style Back on iOS 16 Lock Screen One of the most obvious changes made to the Lock Screen of iPhone with iOS 16 is how all the notifications pile into a stack on the bottom of the locked screen. The notifications stack is done…