
-
How to Enter & Exit DFU Mode on M1 iPad Pro (2021 Model)

Go to OSX Daily to read How to Enter & Exit DFU Mode on M1 iPad Pro (2021 Model) DFU mode is a lower-level restoration state that’s utilized by advanced users to troubleshoot serious software issues. It’s something that can be used across all iPhone and iPad models, but the technique to enter the DFU…
-
How to Enter DFU Mode on iPad Air (2020 Model)

Go to OSX Daily to read How to Enter DFU Mode on iPad Air (2020 Model) If you have a new iPad Air model (2020 or later), you might be wondering how you can enter and exit DFU mode on the device, typically for troubleshooting purposes. This has changed as the new iPad Air no…
-
How to Enter DFU Mode on iPhone 12, iPhone 12 Mini, iPhone 12 Pro, iPhone 12 Pro Max
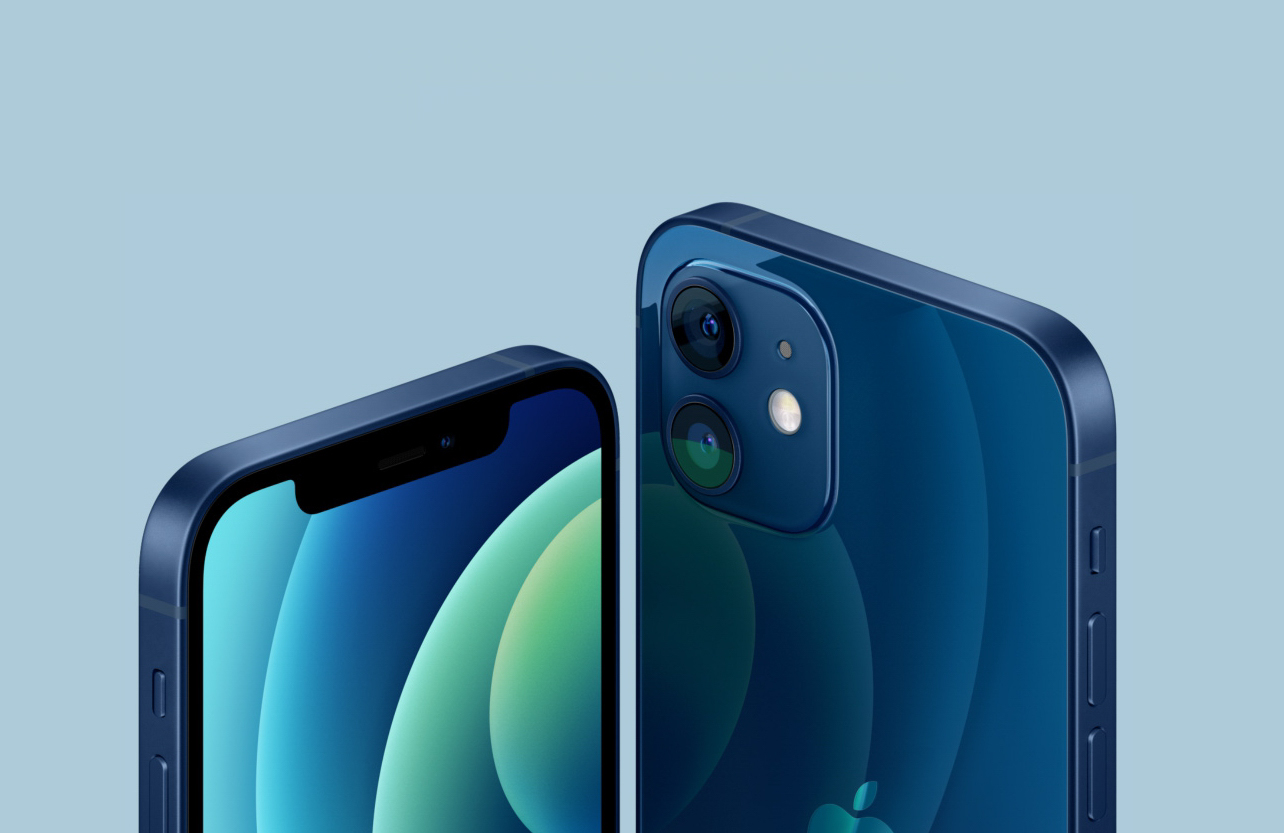
Go to OSX Daily to read How to Enter DFU Mode on iPhone 12, iPhone 12 Mini, iPhone 12 Pro, iPhone 12 Pro Max Do you have an iPhone 12, iPhone 12 mini, iPhone 12 Pro, or iPhone 12 Pro Max? If so, you may want to learn how you can put your device into…
-
How to Enter & Exit DFU Mode on iPhone SE (2020 model)
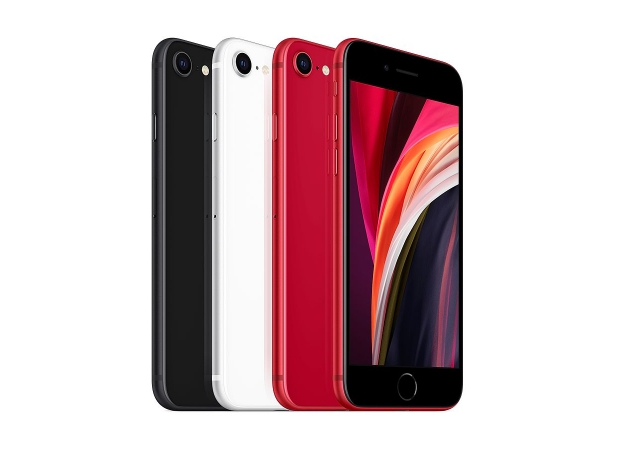
Go to OSX Daily to read How to Enter & Exit DFU Mode on iPhone SE (2020 model) Rarely, you may need to put an iPhone SE into DFU mode as a troubleshooting method or recovery method. This shouldn’t be necessary with any regularity, but if you have some particular difficulties with the device where…